Closet Framing, Electrical, and Shelving
Framing out a closet for the shack with electrical and shelves.

🕛 Time - 10 Hours
💵 Cost - $265
Materials
- 50 - 2x4 Boards ($175)
- 3" Construction Screws ($40)
- 3" Tapcon Screws ($40)
- Electrical Wire (Existing)
- 5 - 1 Gang Boxes (Existing)
- 3 - Outlets (Existing)
- 1 - Switch (Existing)
- 1 - Light Bulb Holder (Existing)
- Wire Staples (Existing)
- Construction Adhesive ($10)
Tools
- 20v Dewalt Hammer Drill
- 20v Dewalt Circular Saw
- 4-Foot Level
- Hammer
- Caulk Gun
- Wire Strippers
- Utility Knife
- Speed Square
Ever since we tore down the original shack and built the new metal building, we've talked about how we were going to finish the interior. We've continued to bring building materials, tools and home goods up to the property. I spent some time last year building out a "kitchen" and setting up a living room area. This year, I've decided to actually build out some rooms within the building.
The first room I decided to build was a closet to hold all the stuff we had lying around. It decided on an 8x8 foot room, with a 30 inch closet door that could hold our existing shelves, have room for more shelving and hold our jackets and boots.
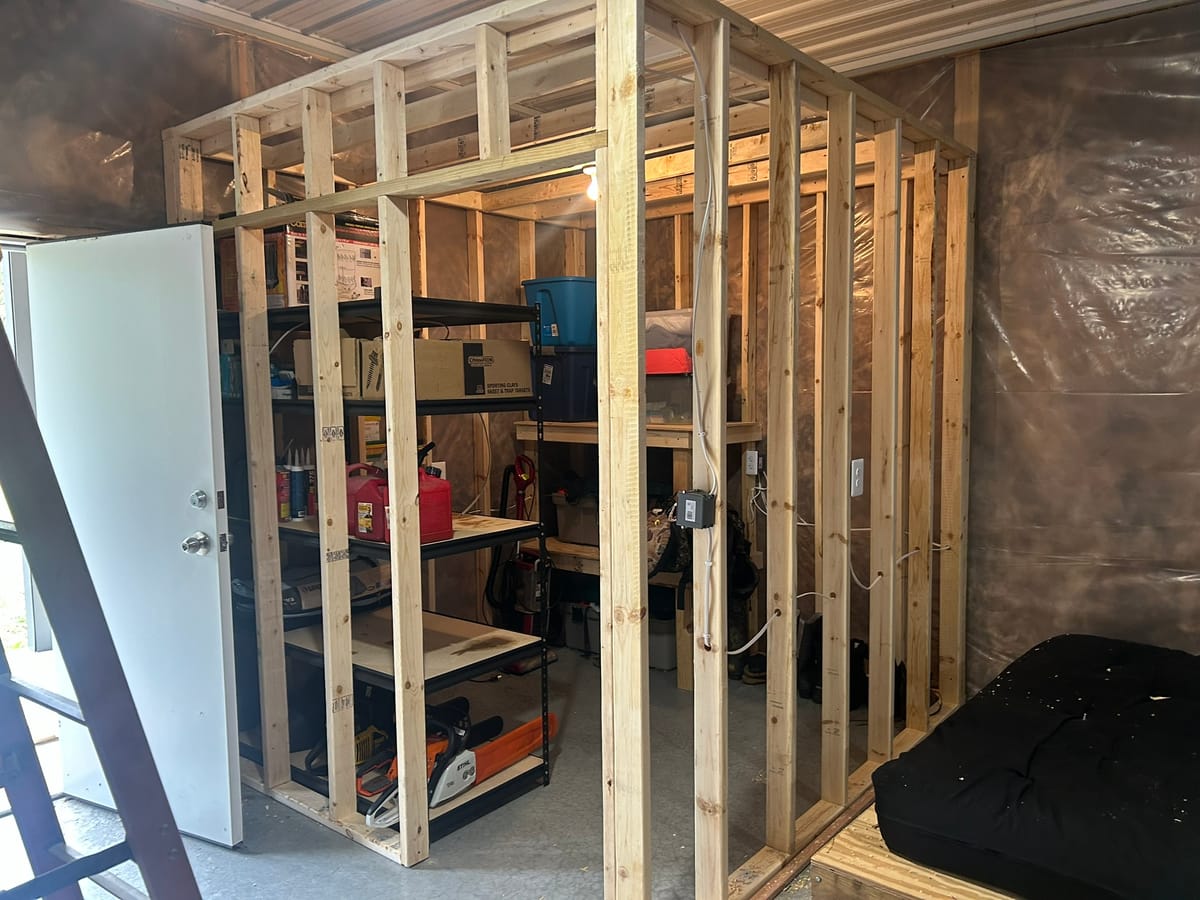
I hauled 25 8 foot 2x4s on top of my Jeep up to the land on Friday and began framing out the closet. I built the walls on the floor using 3" construction screws (still waiting for my framing nailer). I space the studs 16" apart.
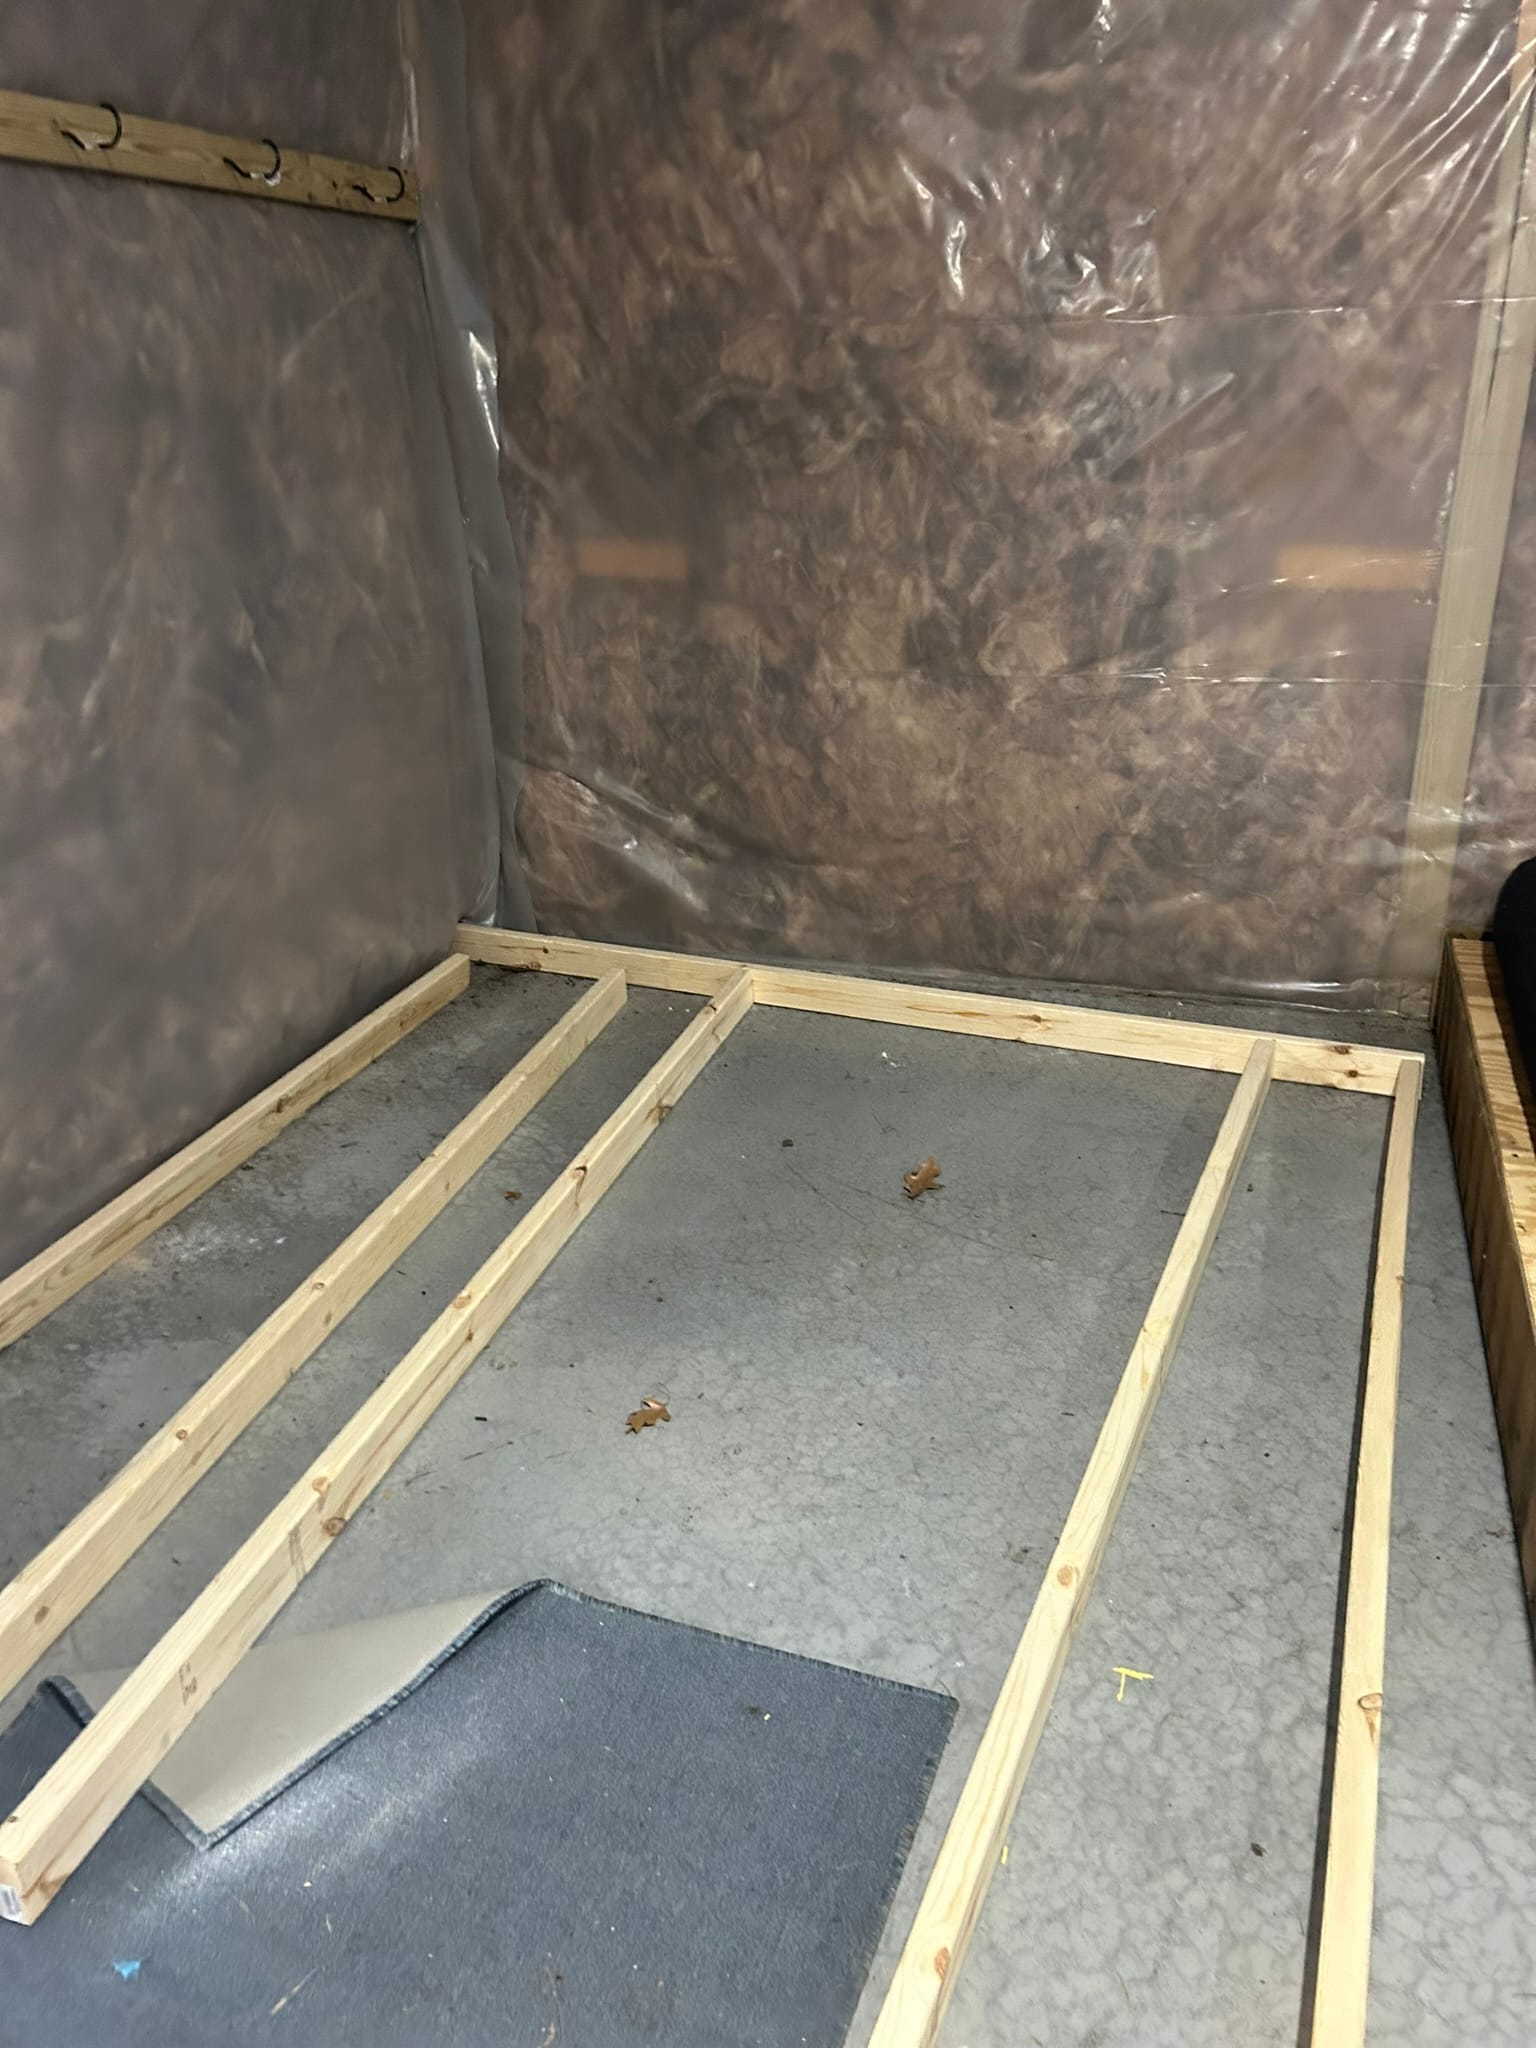
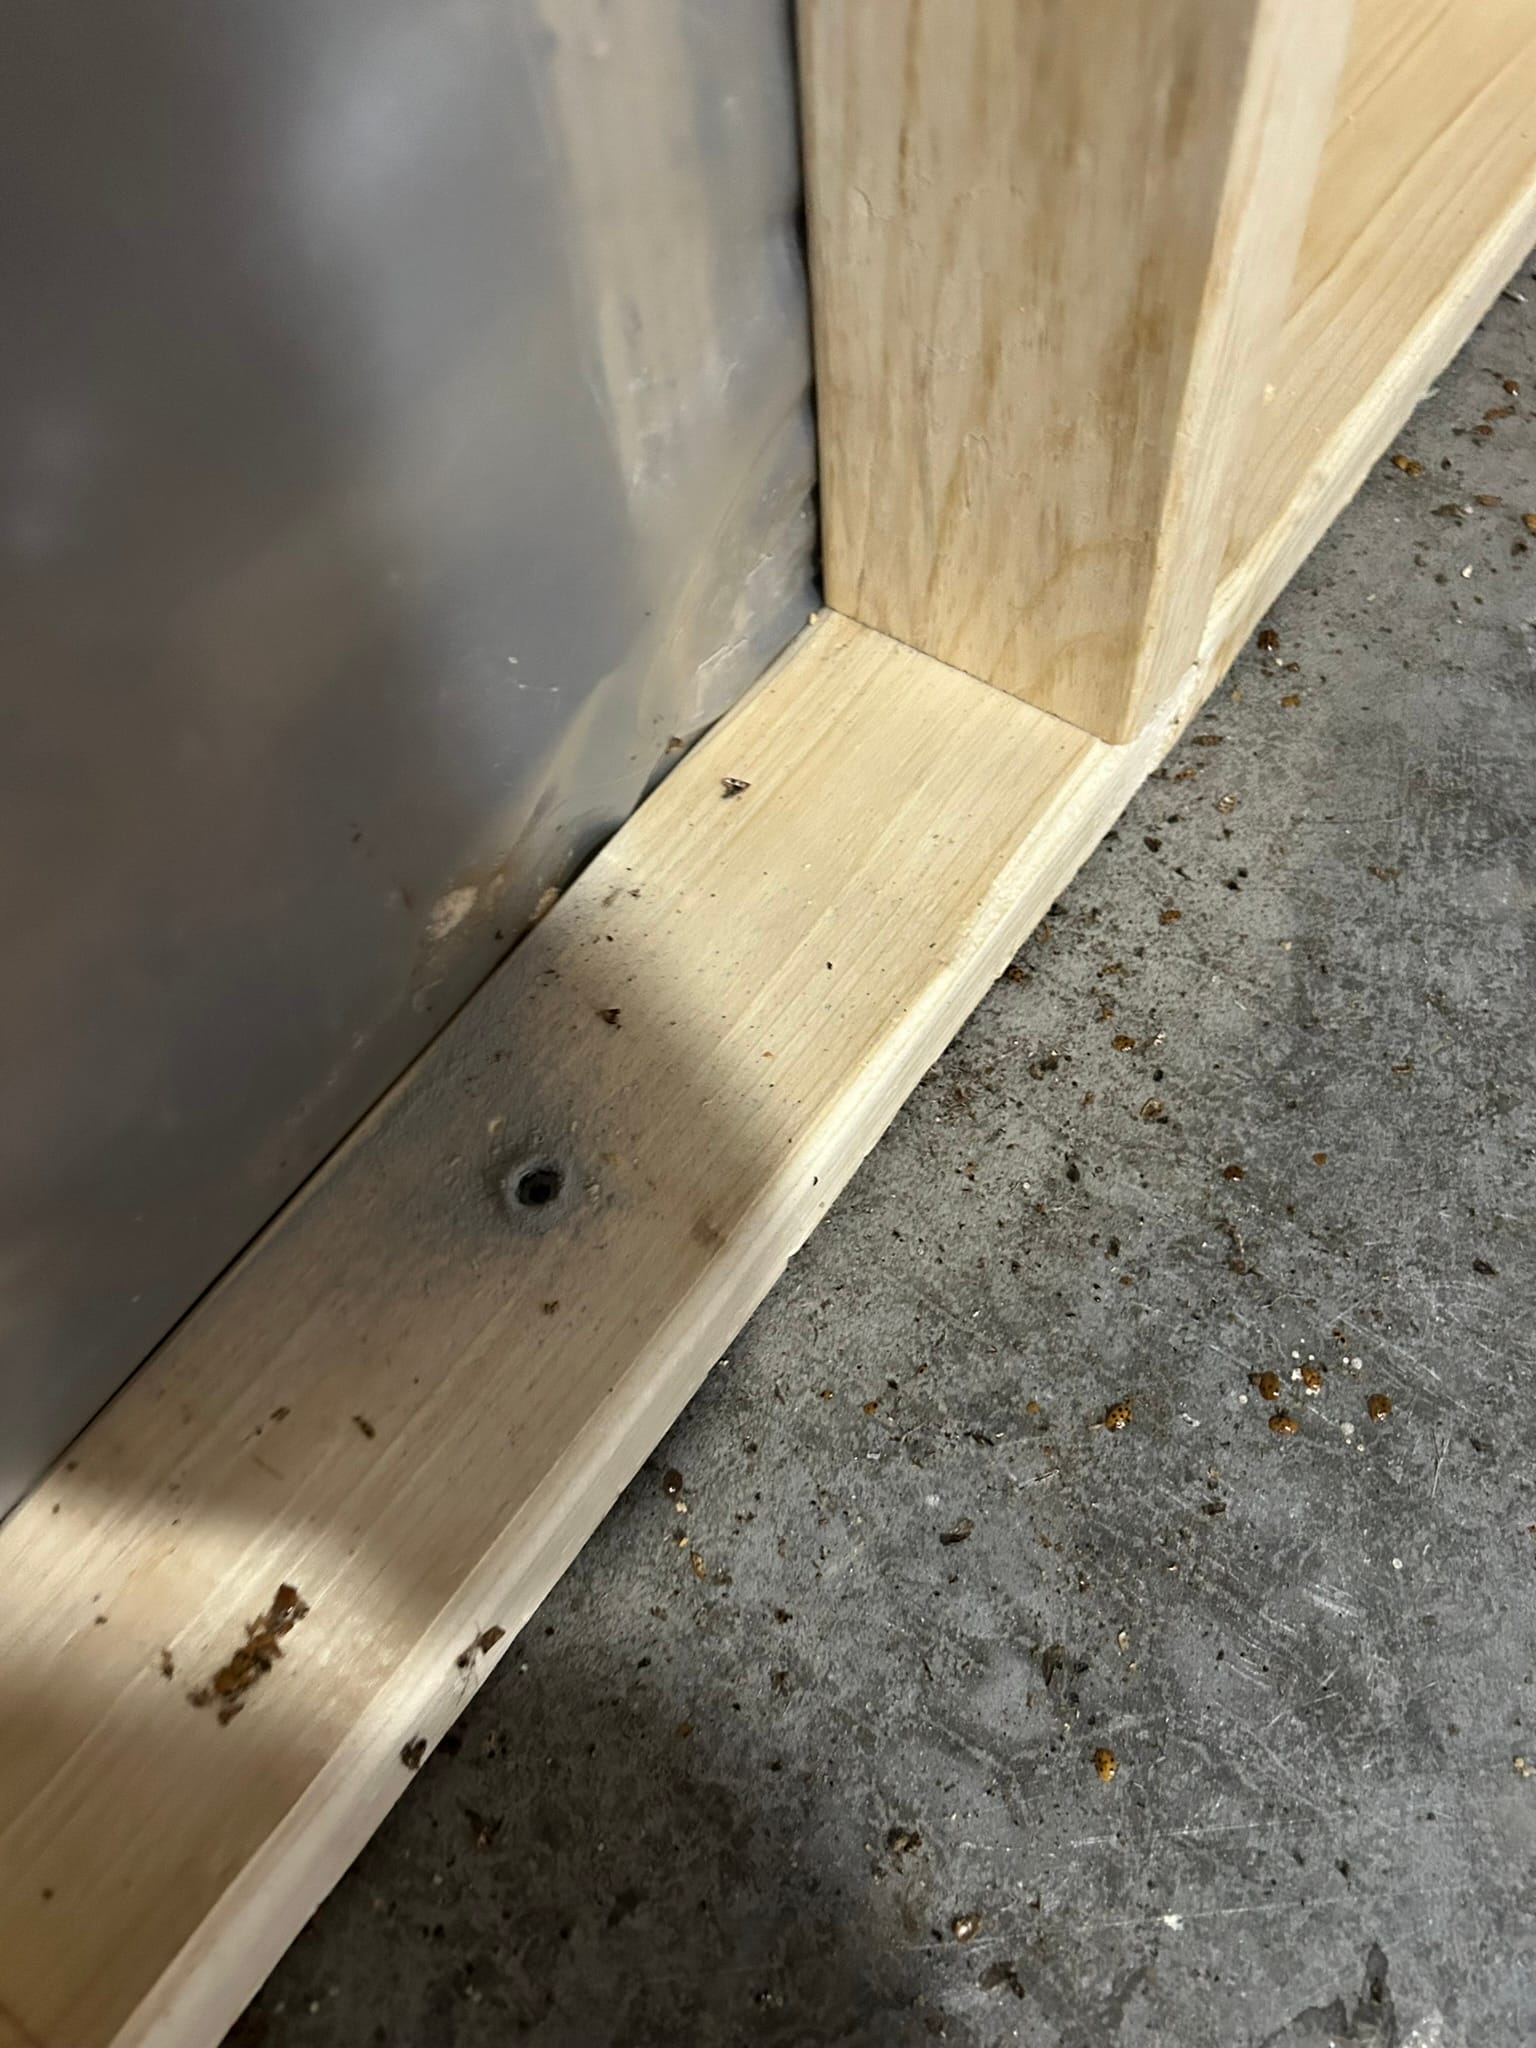
Once the wall was complete, I would stand it up and fasten it to the walls. Then, I put down a line of construction adhesive and moved the base of the wall over it. I drilled holes through the base plate and the concrete for Tapcon screws. I then sunk the screws into the concrete to bring the wall snug to the floor.
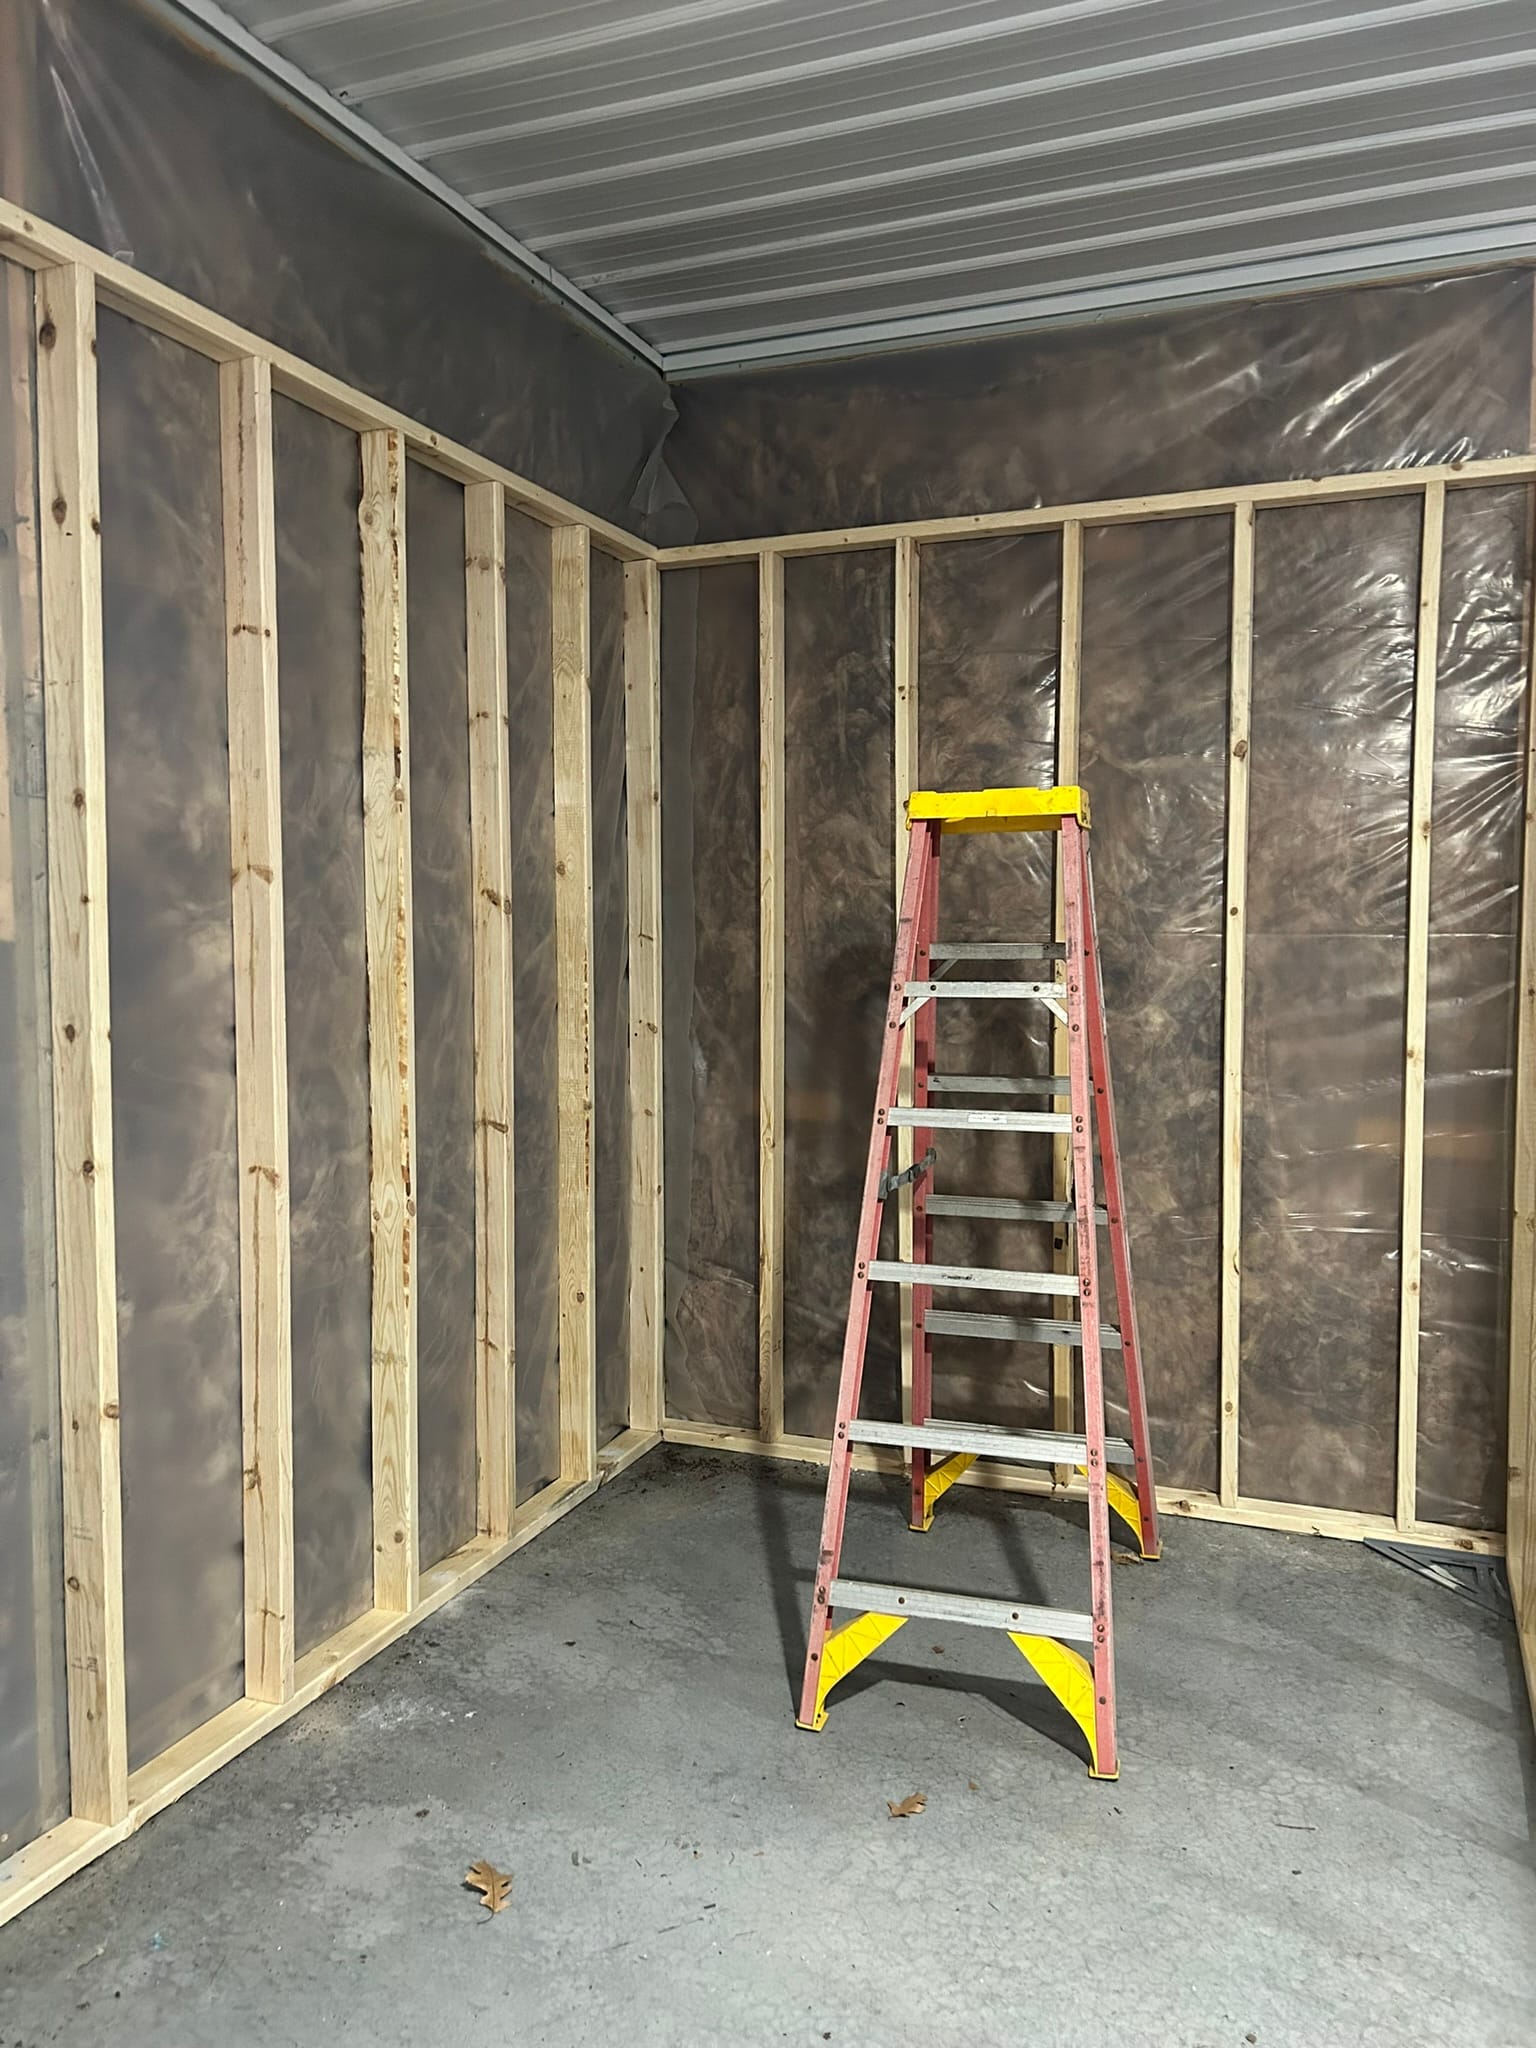
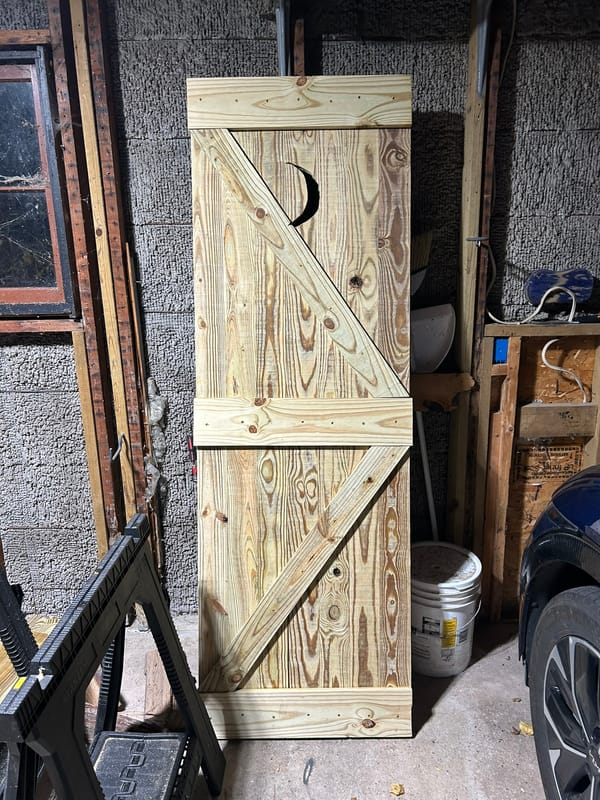
Once I had the three flat walls up, I built the fourth wall in place. This wall needs to include a 30" closet door. I ran a 2x4 across the length at a height of 82.5" to accommodate an 80" door.

After running the top of the door frame, I framed out the rest of the wall. I left a 32" width opening for the door and ran studs every 16"s.
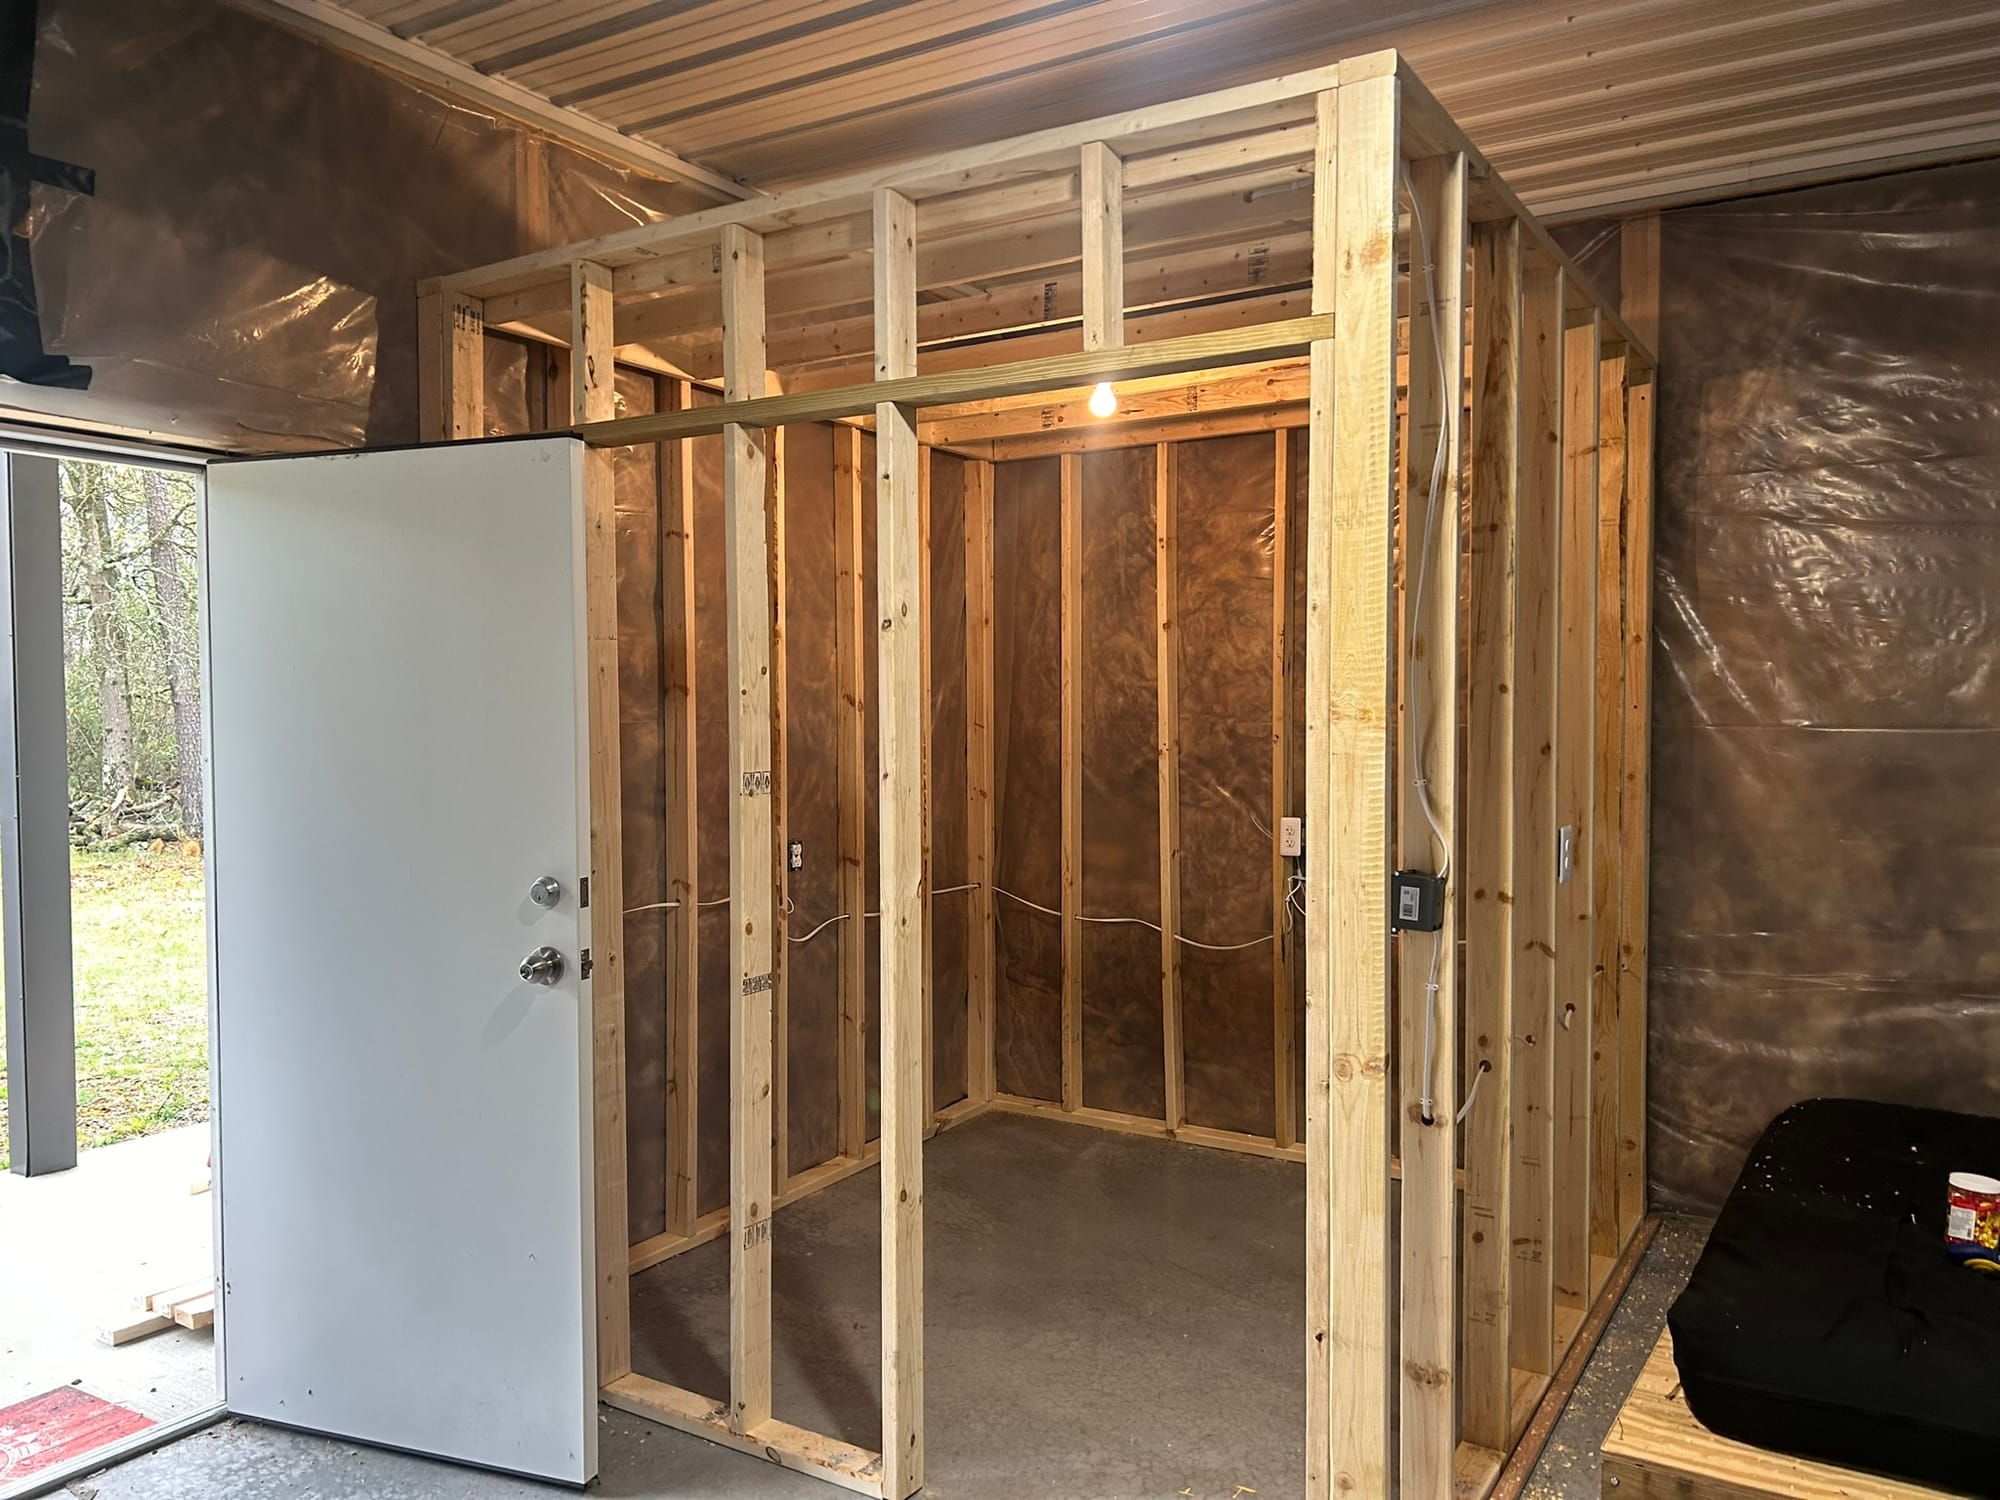
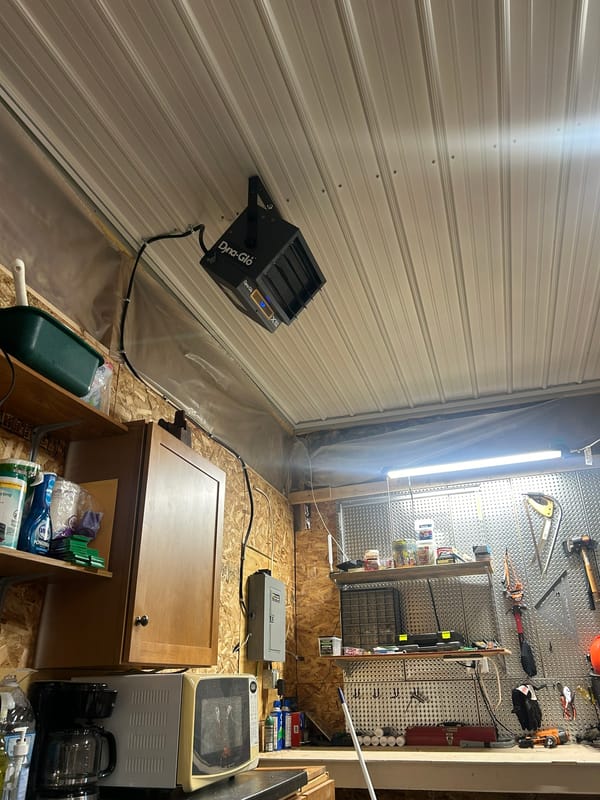
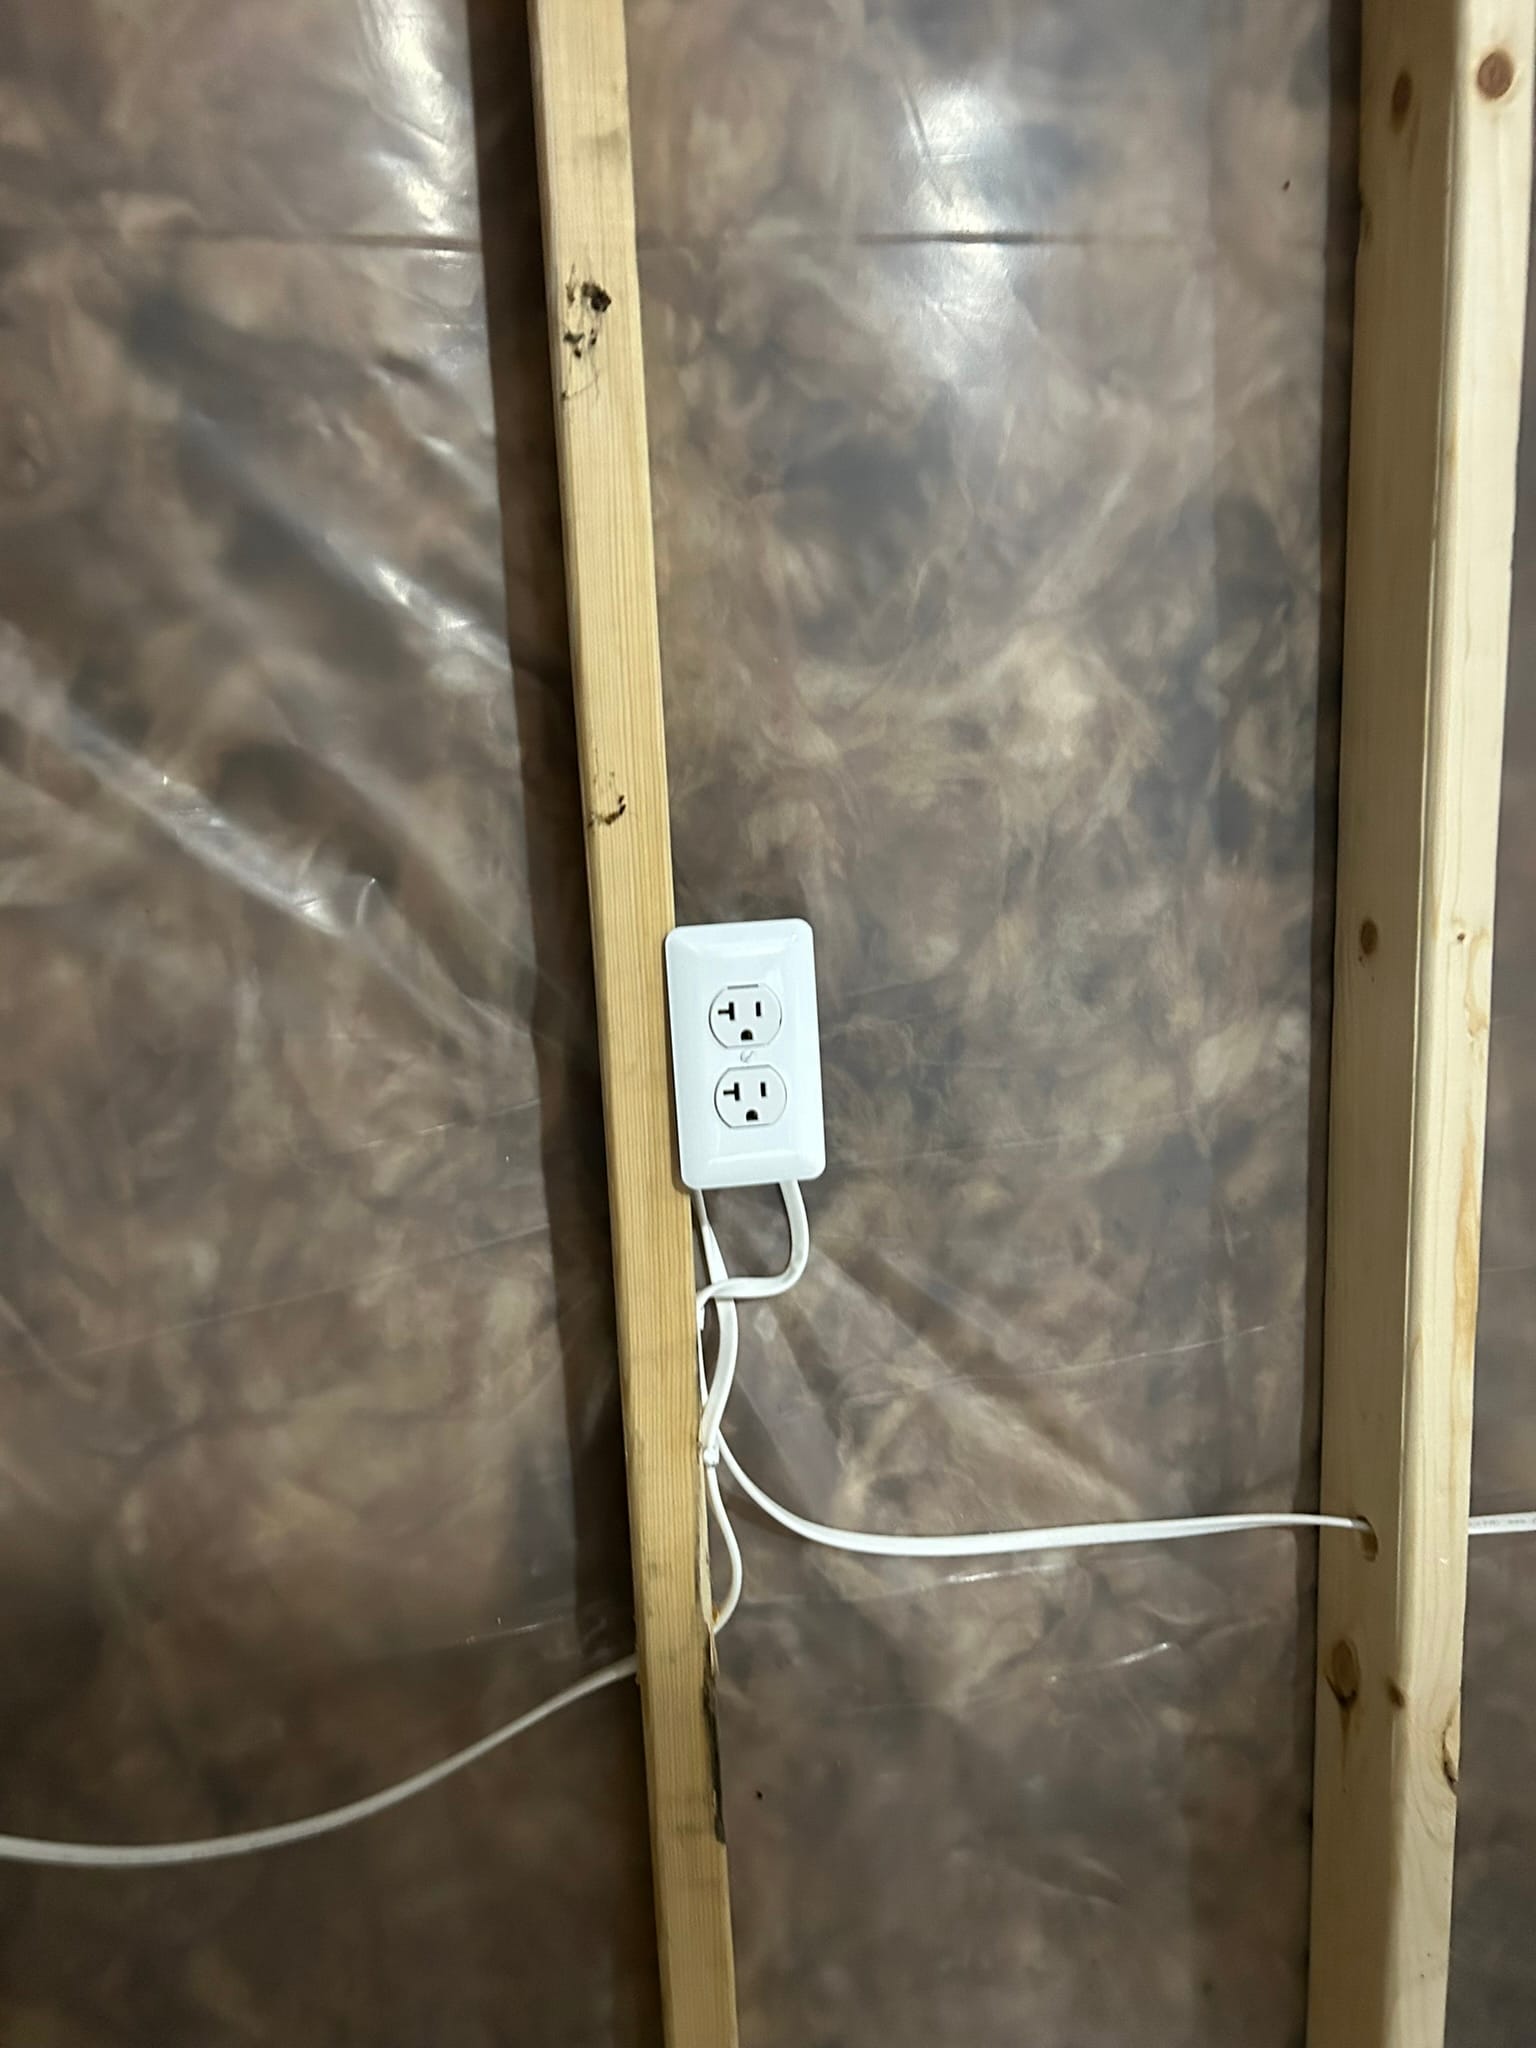
After framing the closet, I ran electrical wire and mounted 1-gang boxes for outlets, a switch and a light in the closet. I also placed an outlet on the exterior of the closet. I stapled the wire near the boxes.

After running wire, I installed the outlets, switch and light.
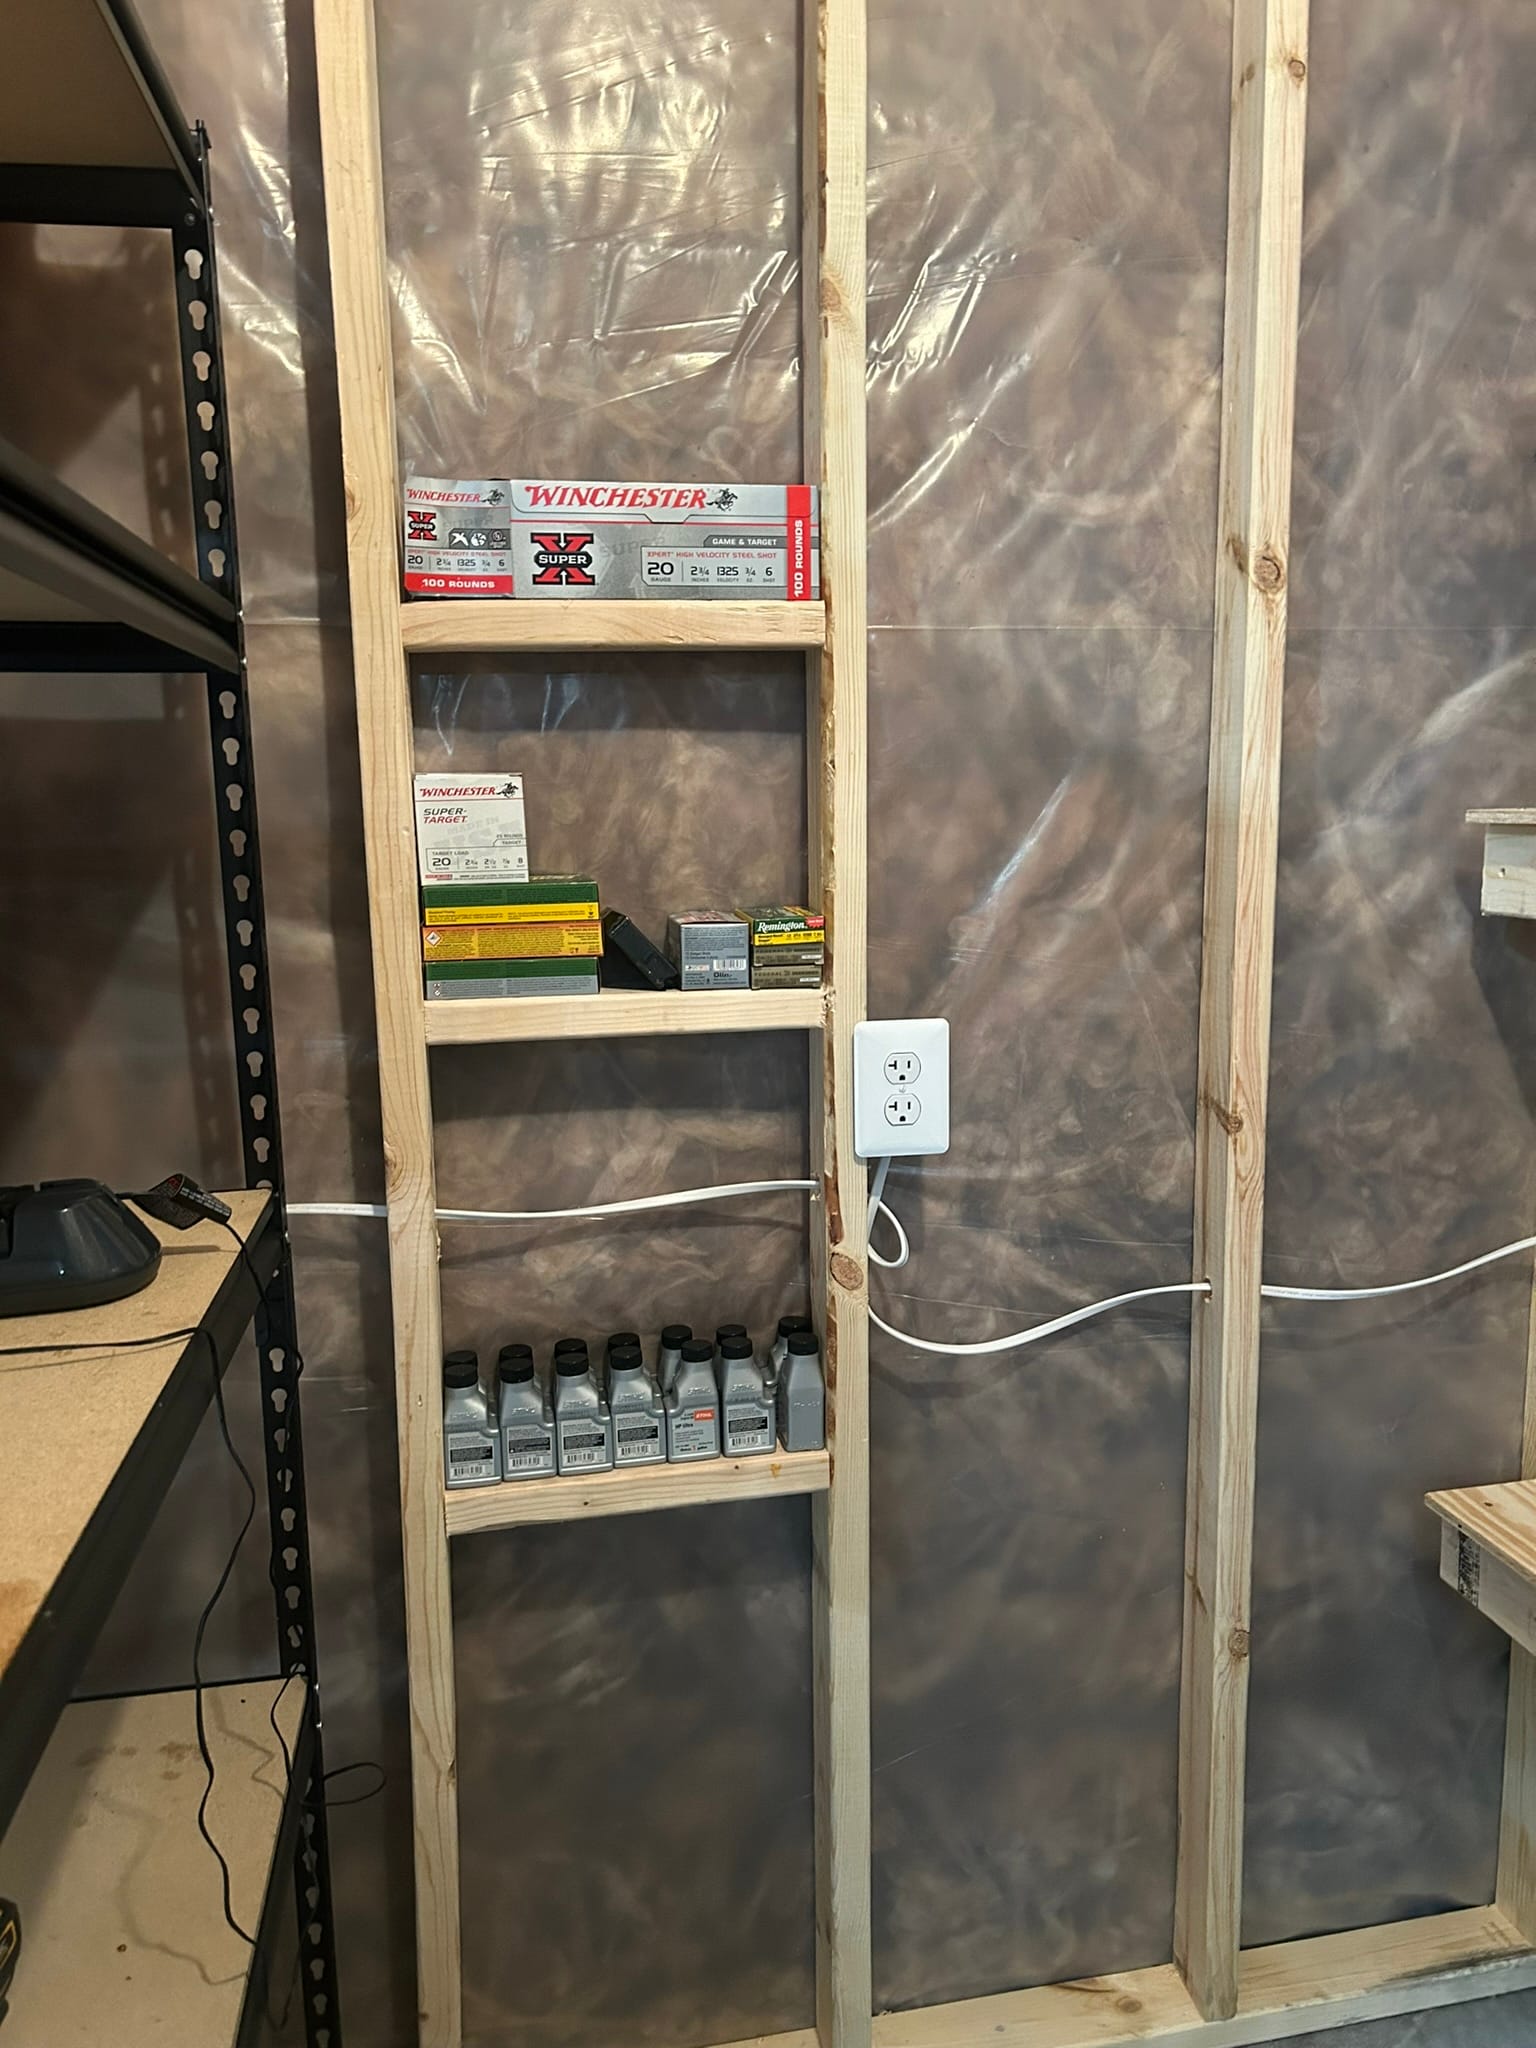
After electrical installation, I moved our existing metal shelves into the closet and set to build out some shelves. First, I put some 2x4s between the studs to hold small stuff light ammo and oil for the chainsaw. I do not plan on finishing the inside of the closet, so I didn't worry about building shelves between the studs.
I used some of the left over framing wood to build larger shelves for our bins of straps, kitchen goods, and blankets. I had an existing 4x4 I used as the fourth leg. These bins weren't particularly heavy so I didn't worry too much about how this was joined.
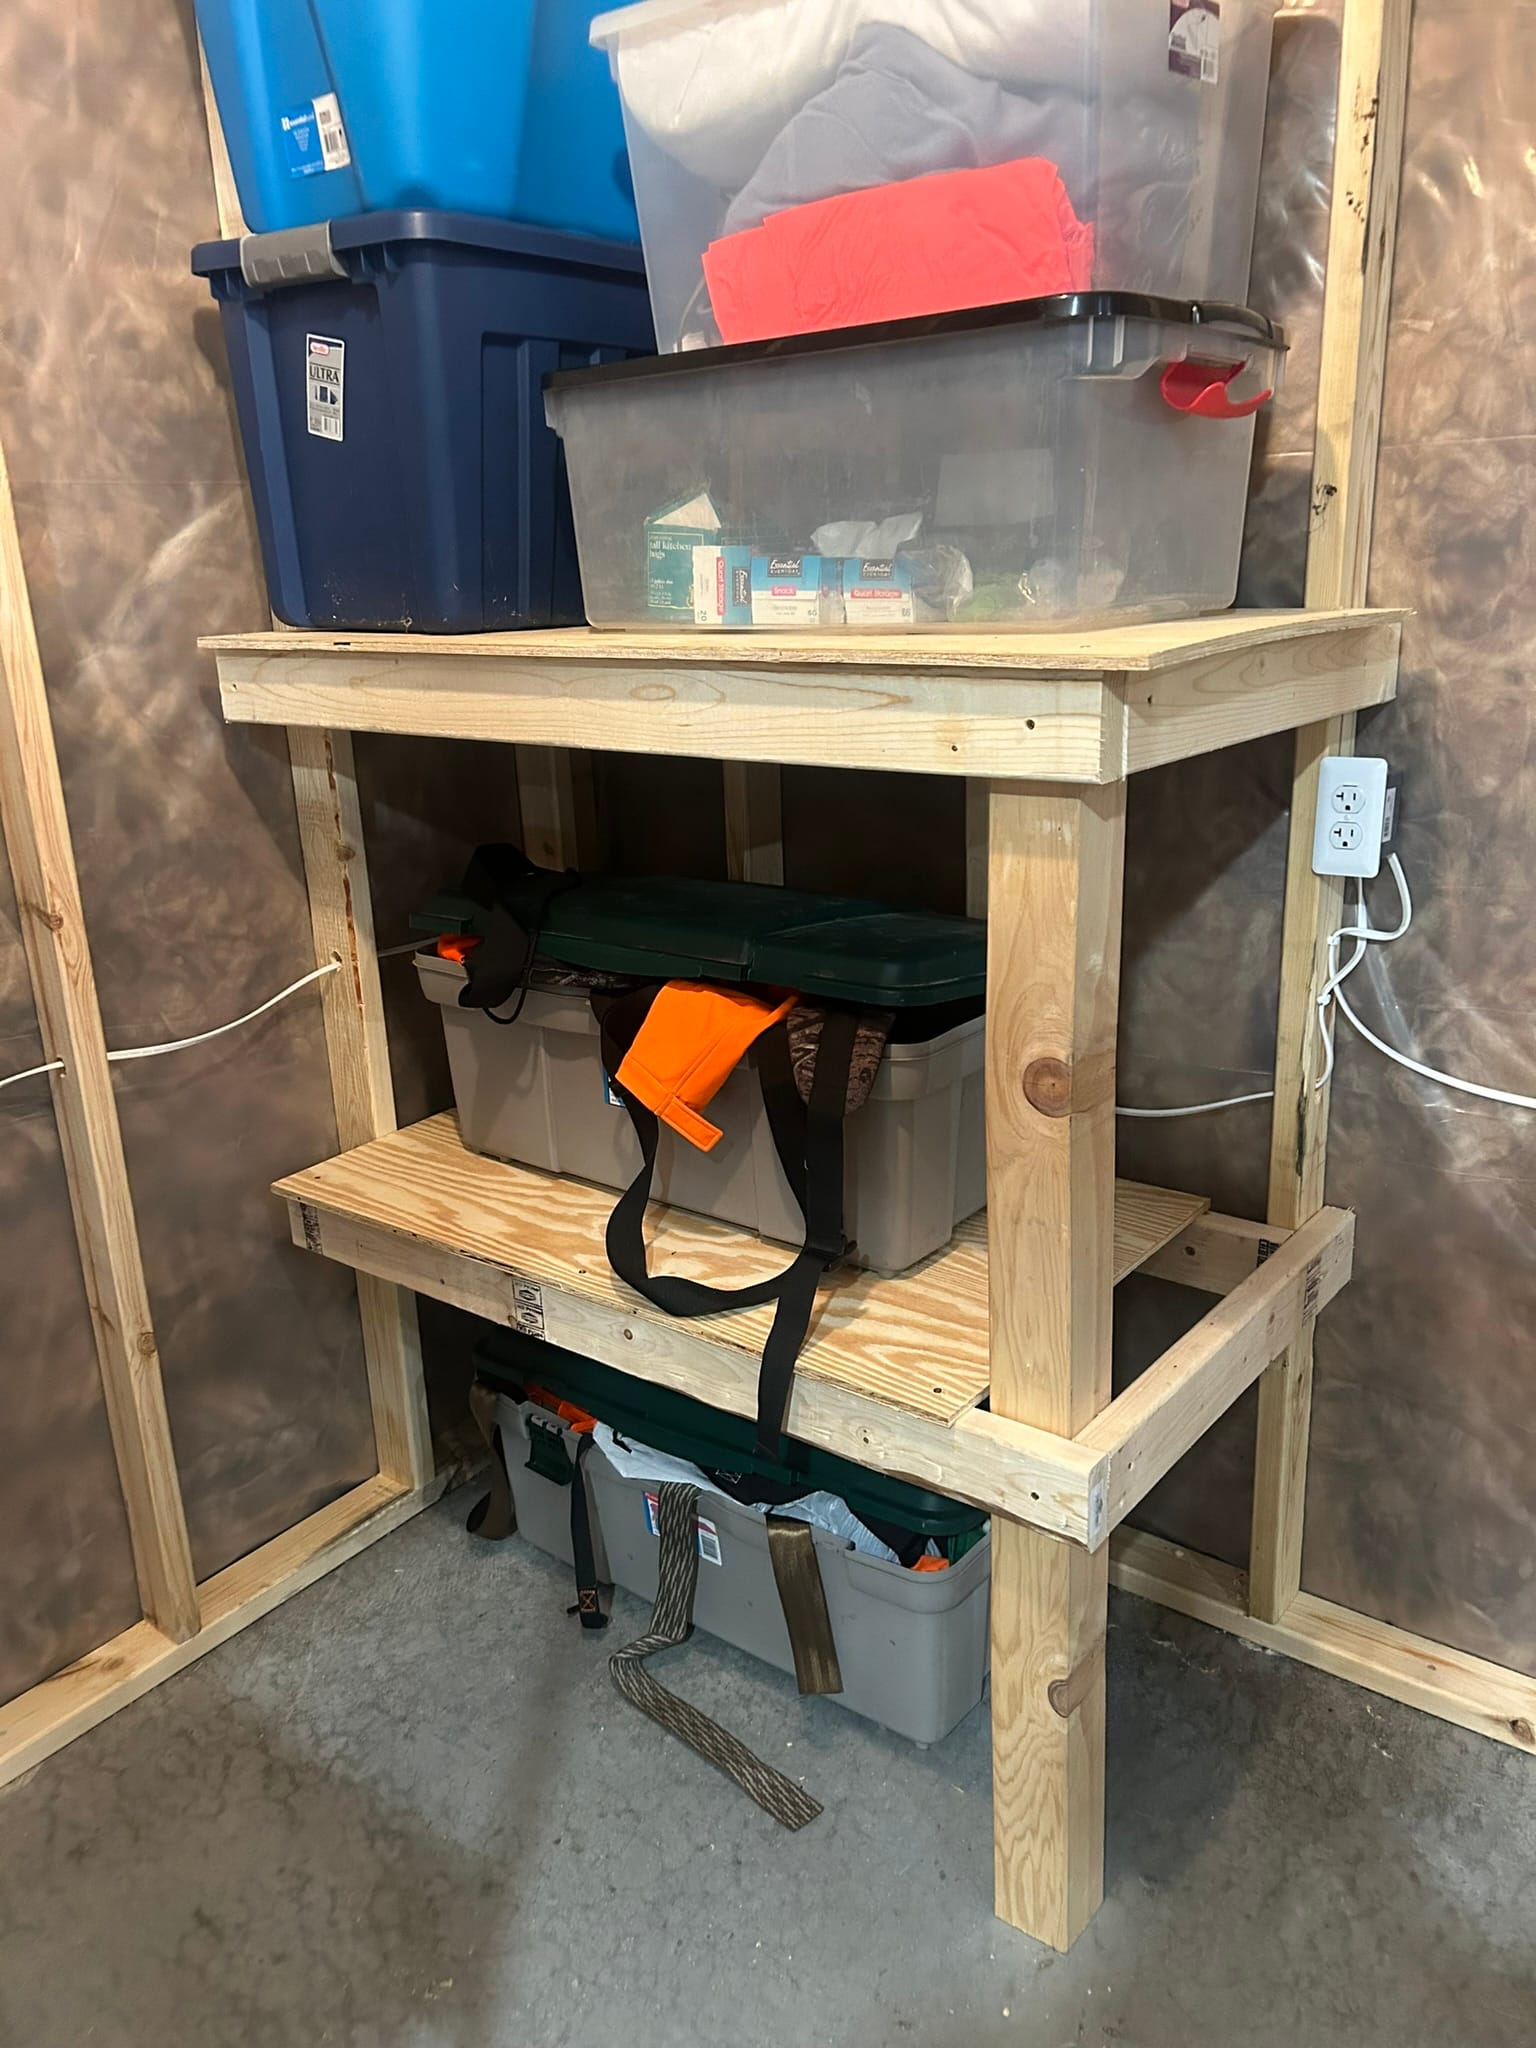
The completed closet help much of the junk we had collected. I plan to put in a clothes hanger bar and a way to hang our yard tools. I was, overall, very happy with the finished closet. I plan to cover the closet in wood panels of some kind to give it a rustic feel and avoid having to mess with drywall (and sanding...).