Dog-Eared Picket Fence Replacement
A dog-eared picket fence replacement for the backyard.

🕛 Time - 5 Hour
💵 Cost - $10.00
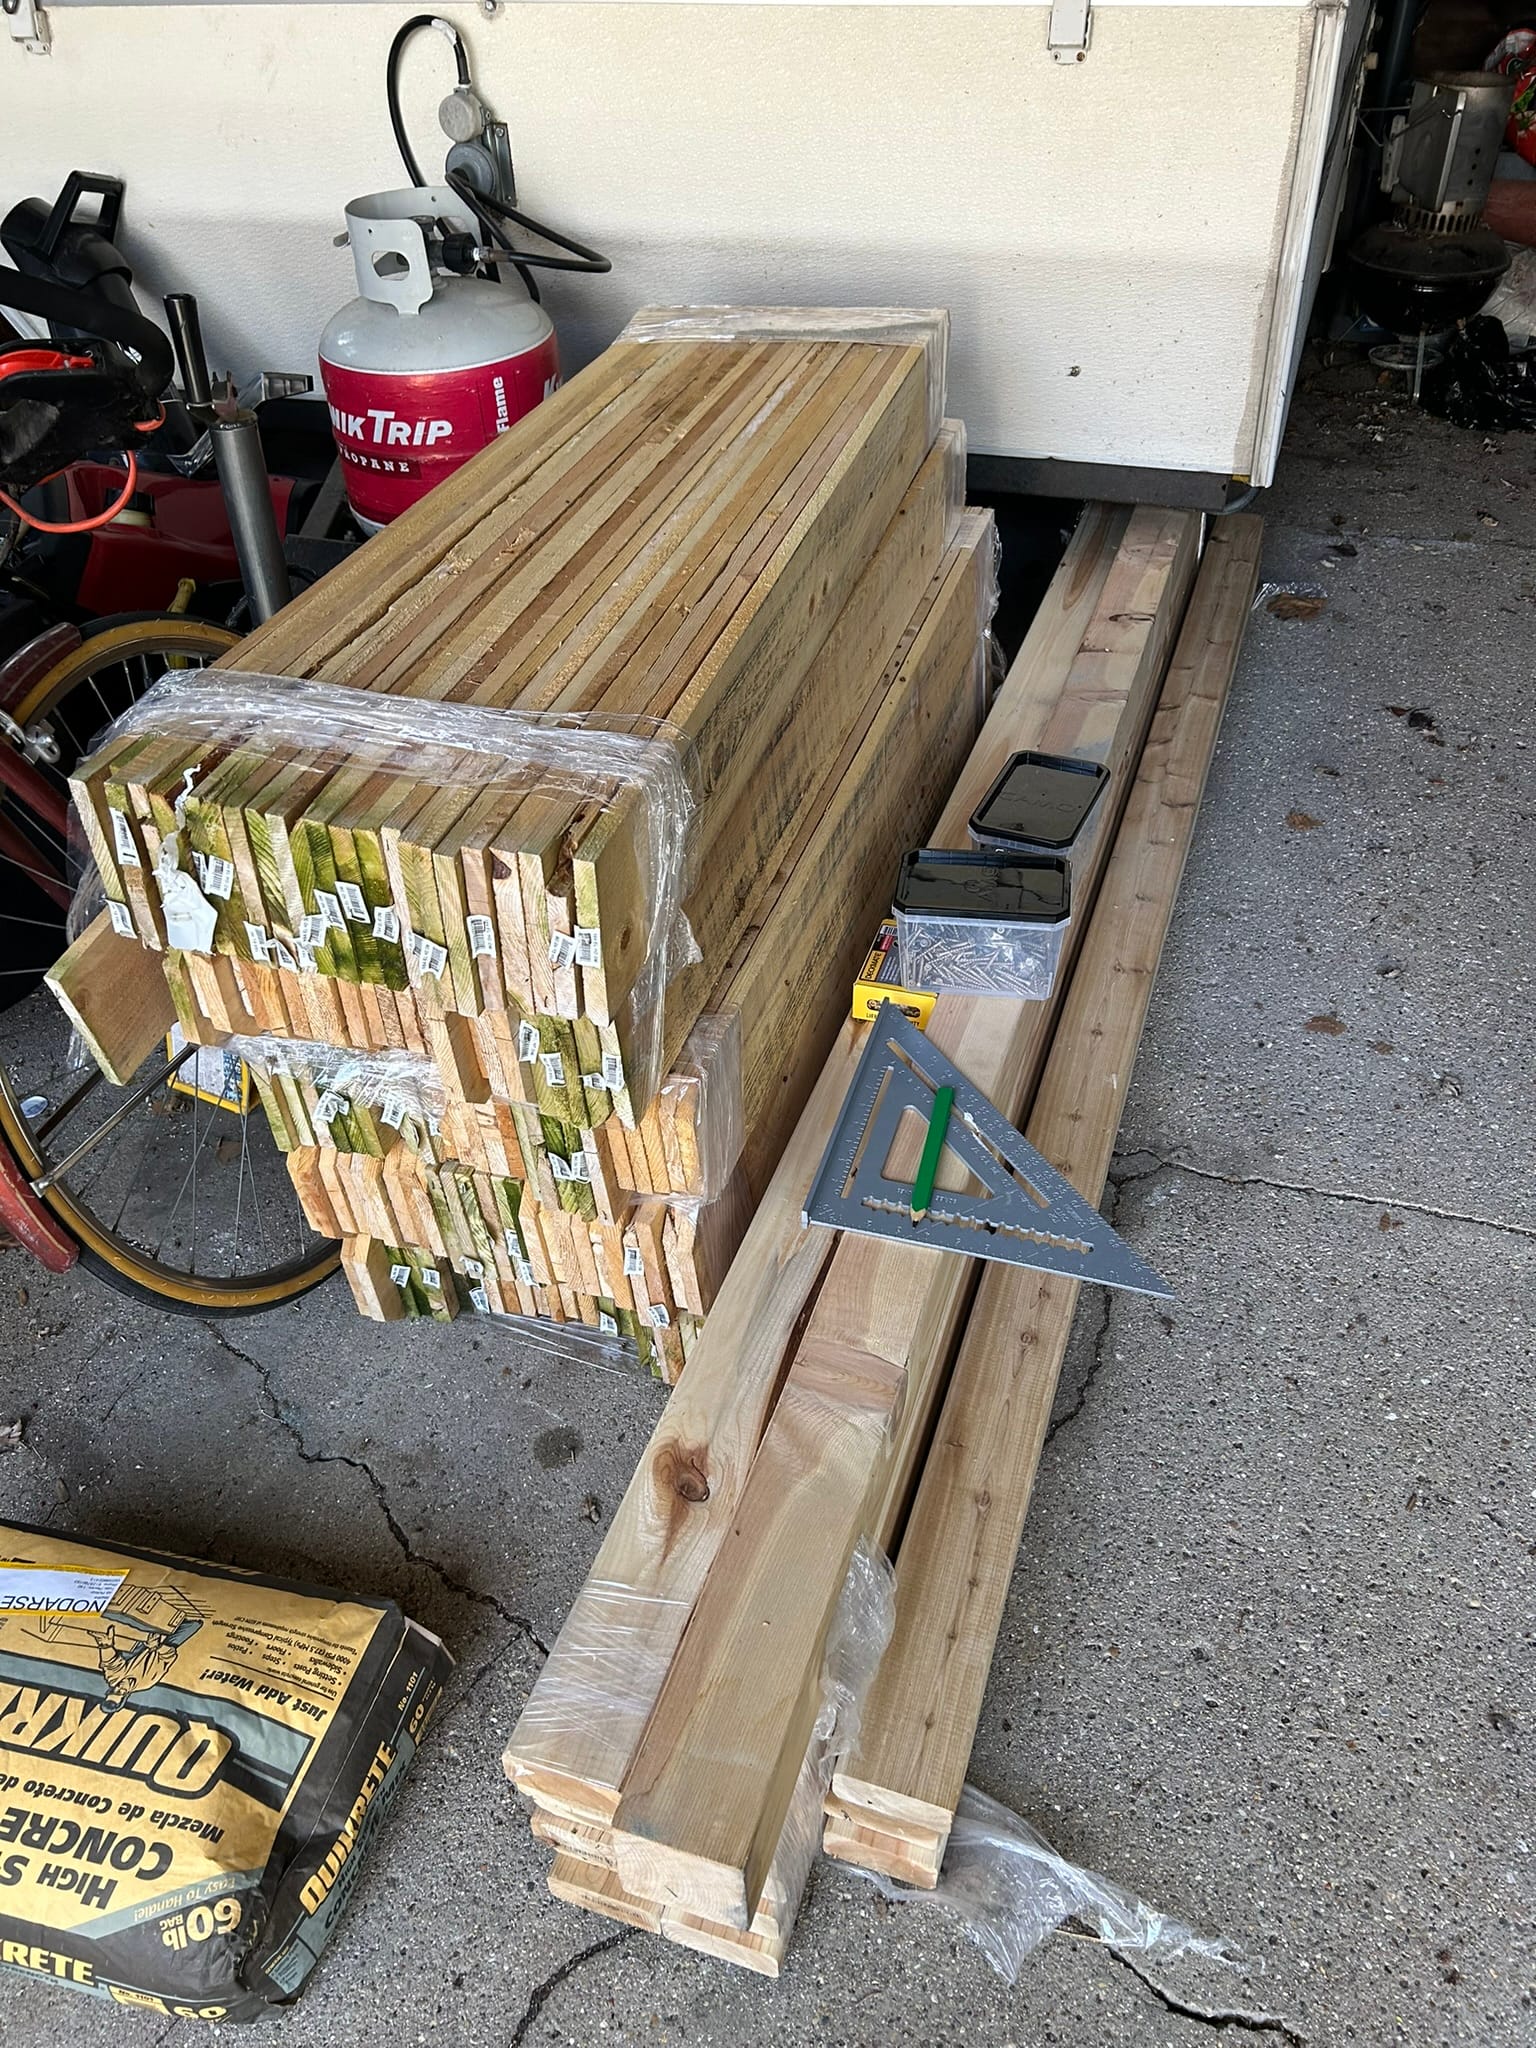
Materials
- 12 x Pressure Treated 2"x4"x8' (Neighbor Purchased)
- 96 x 4'x 5.5" Dog-Eared Fence Pickets (Neighbor Purchased)
- Quikrete Cement (Neighbor Purchased)
- Deck Screws (Neighbor Purchased)
- Construction Screws (Neighbor Purchased)
- Twine ($5.00)
- Wood Stakes ($2.00)
- Gravel ($3.00)
Tools
- Dewalt 20v Cordless Drill
- Dewalt 20 Circular Saw
- 4' Level
- 8 ' Level
- 16 oz Hammer
- Rubber Mallet
- 12" Speed Square
- Post Hole Digger
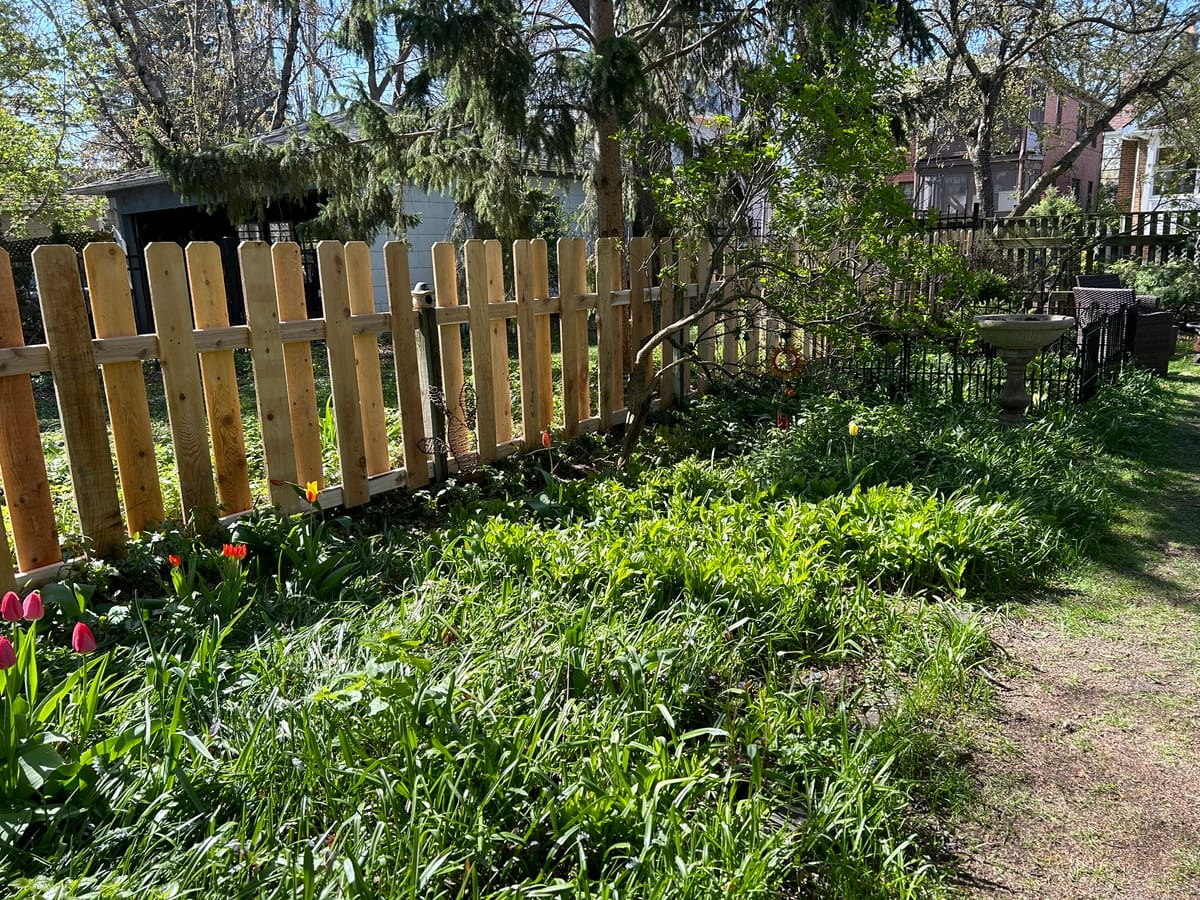
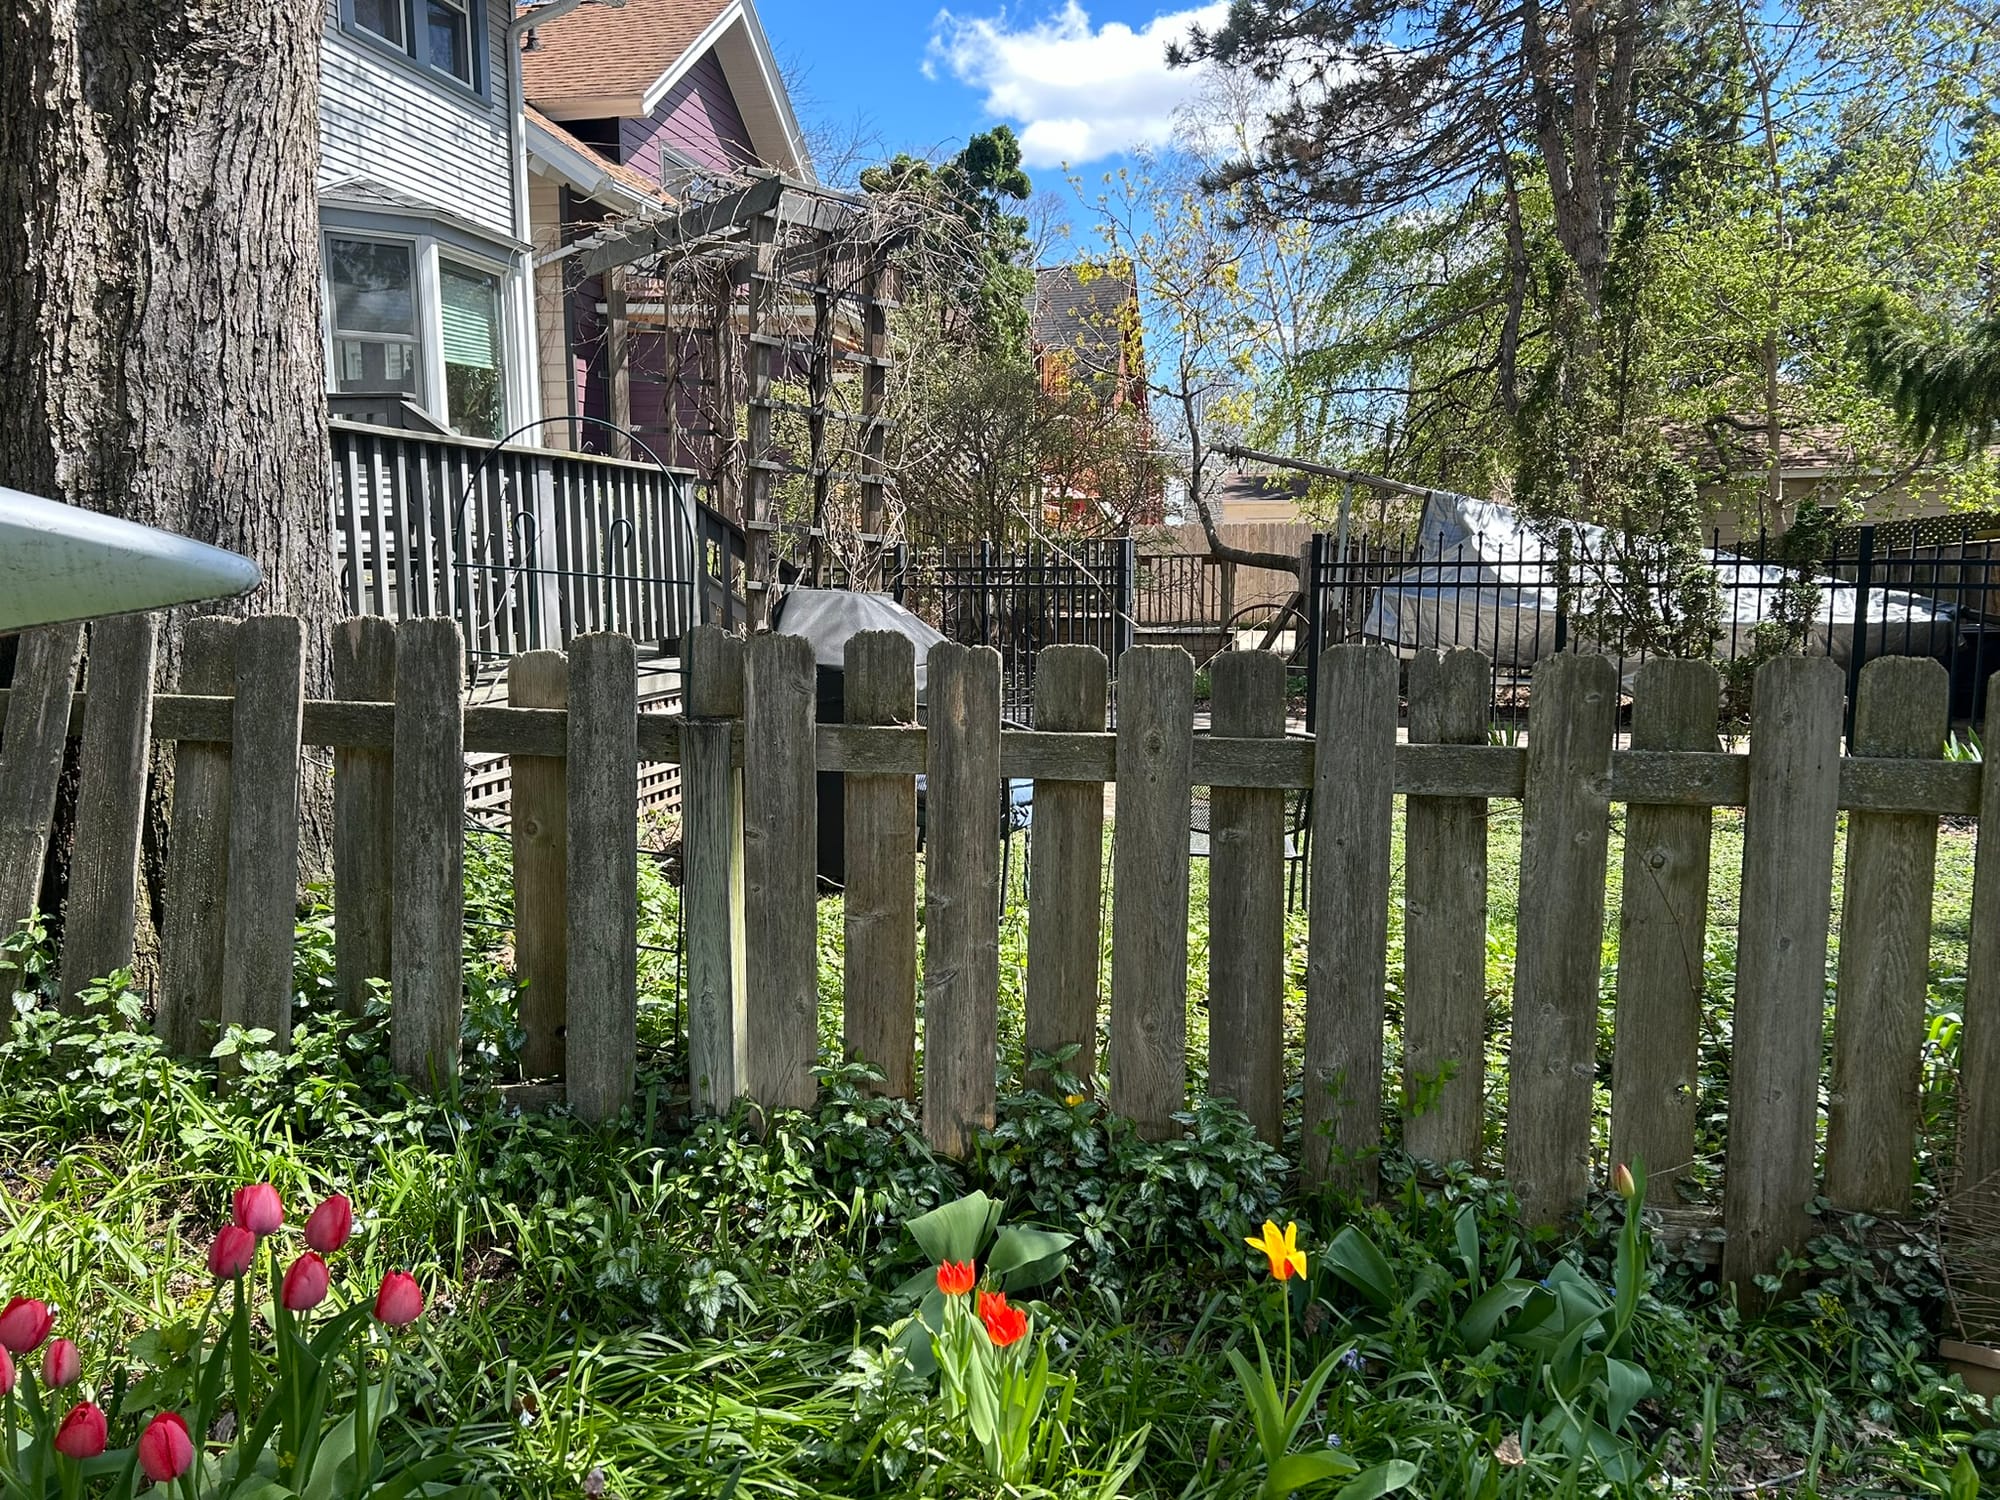
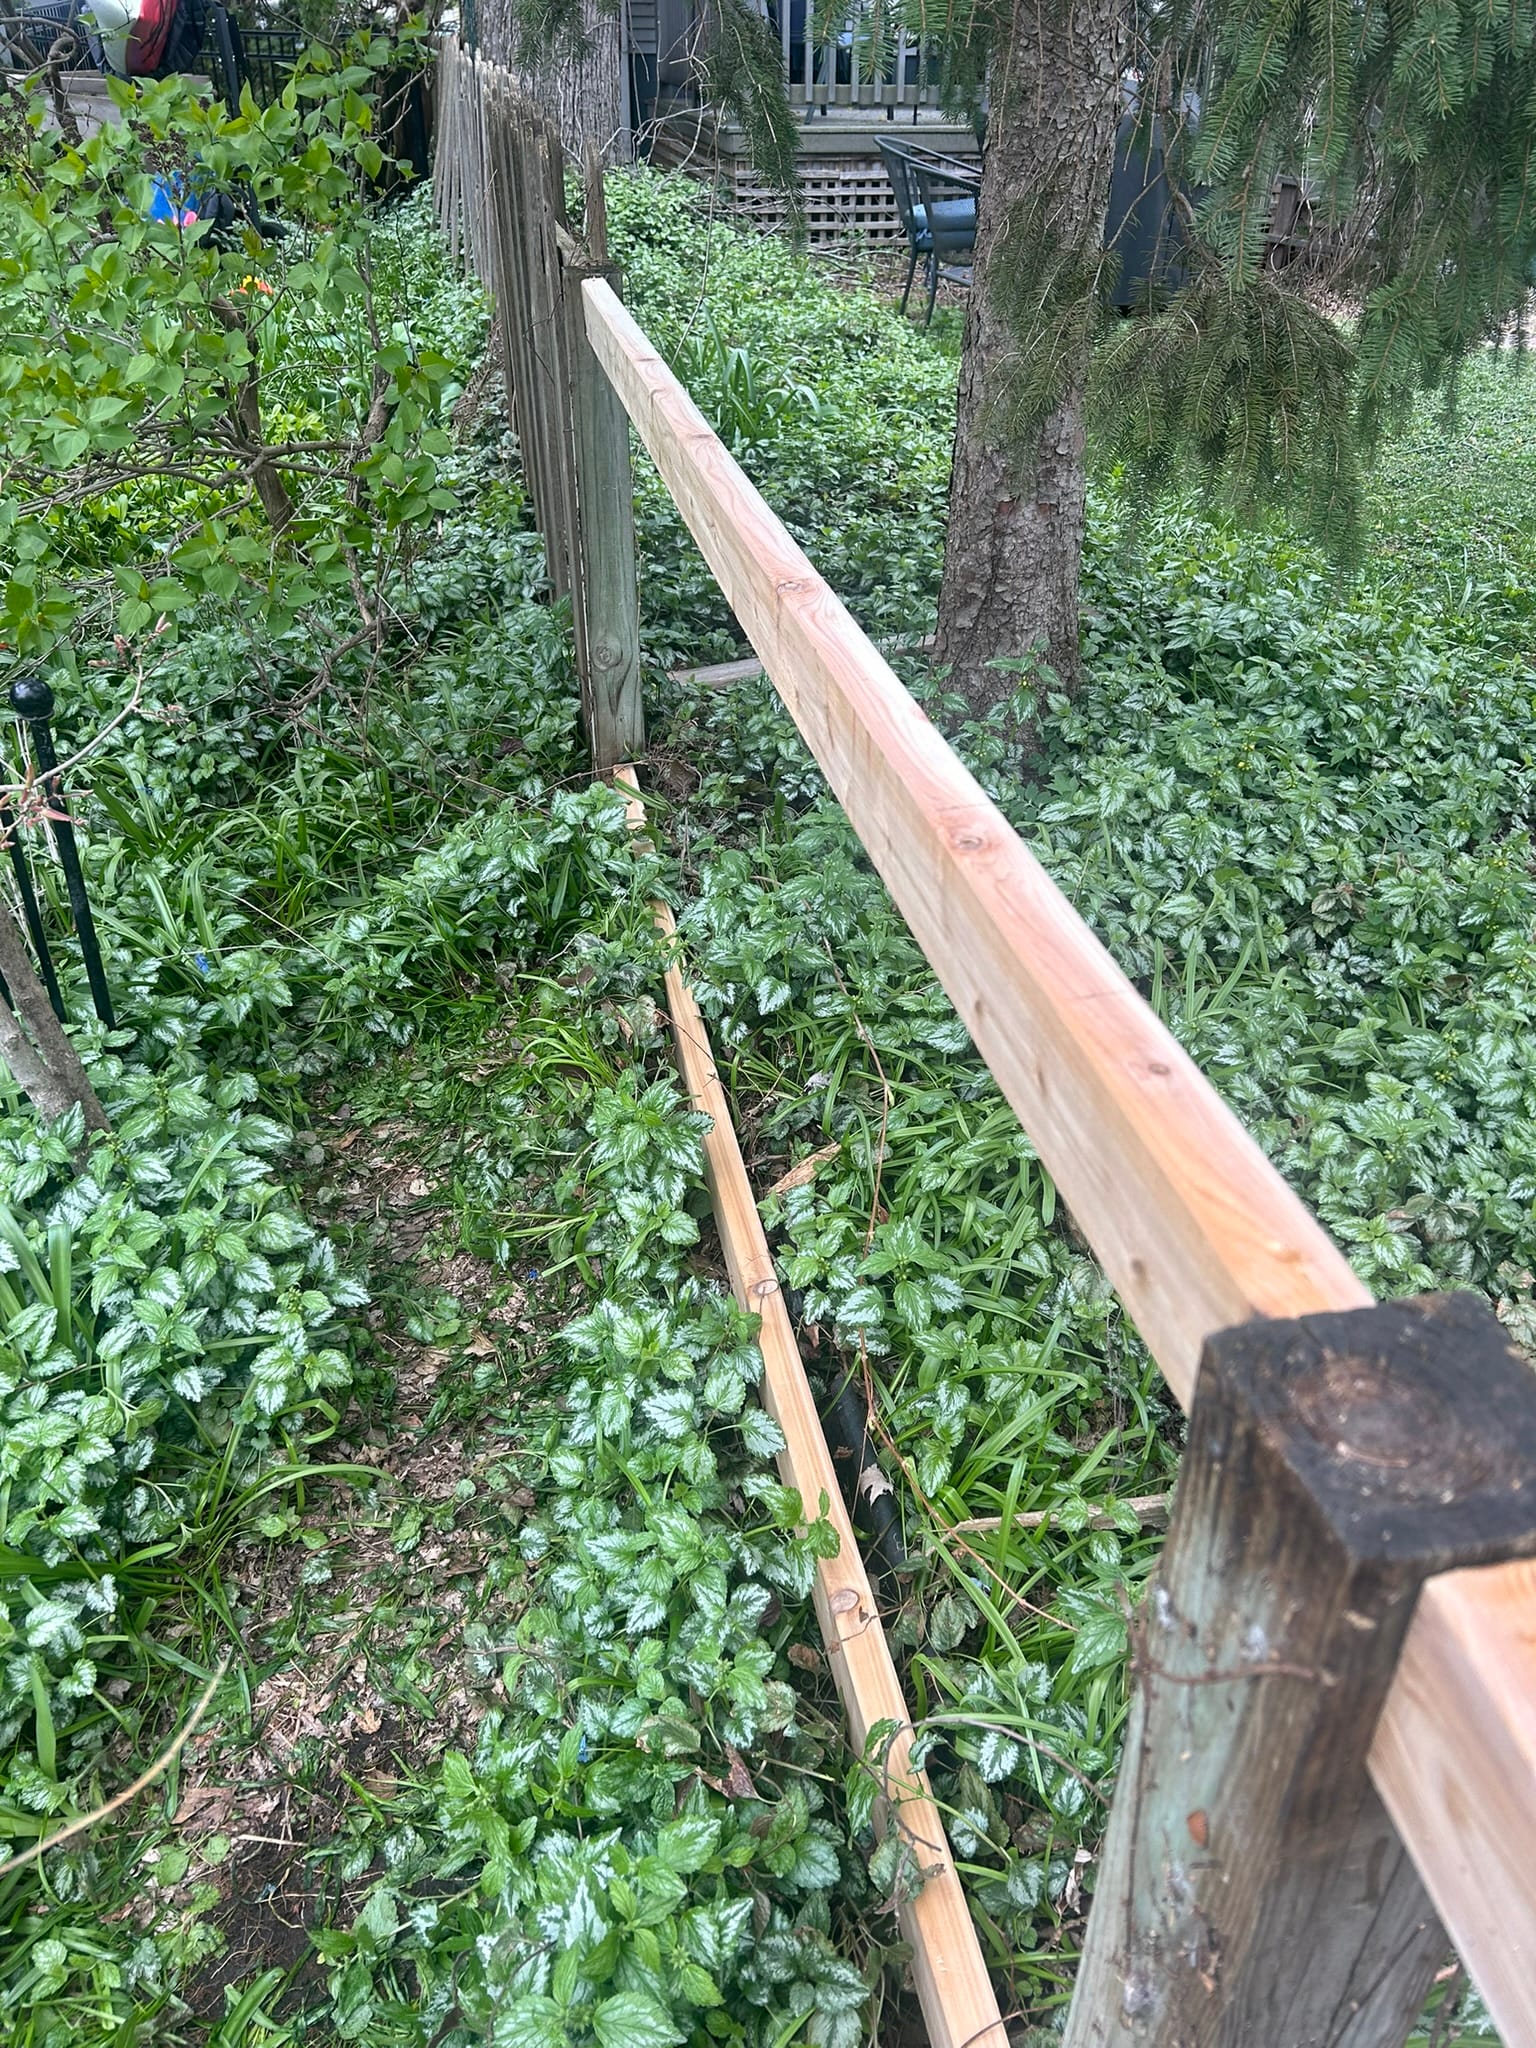
The fence between our house and the neighbors has been in disrepair since we purchased the home. It mostly kept the dog in the yard but occasionally, if excited enough, he could just barrel through the fence. It was mostly being held up by the vines wrapped around it.
After some discussions with the neighbor, we found out the fence was actually within her property. She is older and doesn't have the physical ability to fix the fence herself so I suggested I would do it. She offered to buy the materials if I did the work. She did have a contractor friend come out and measure and order the materials needed for the project.
The posts were actually in good shape and the 2x4s and pickets needed to be replaced. There is one 16' run that is really in need of a post so I had to dig one post hole and set the post in concrete.
Removing the existing pickets and 2x4s was easy work. I could do most of it without tools while some required a couple swings of a hammer. The posts were surprisingly level after removing the existing fencing. I had to remove existing nails and was the most laborious part.
I measured and cut new pressure treated 2x4s for each section of the fence. Using an 8' and 4' level to ensure everything was square, I mounted the 2x4s to the existing posts. I tried to maintain the same dimensions of the existing fence. I also tried my hardest not to kill all the plants in our garden.
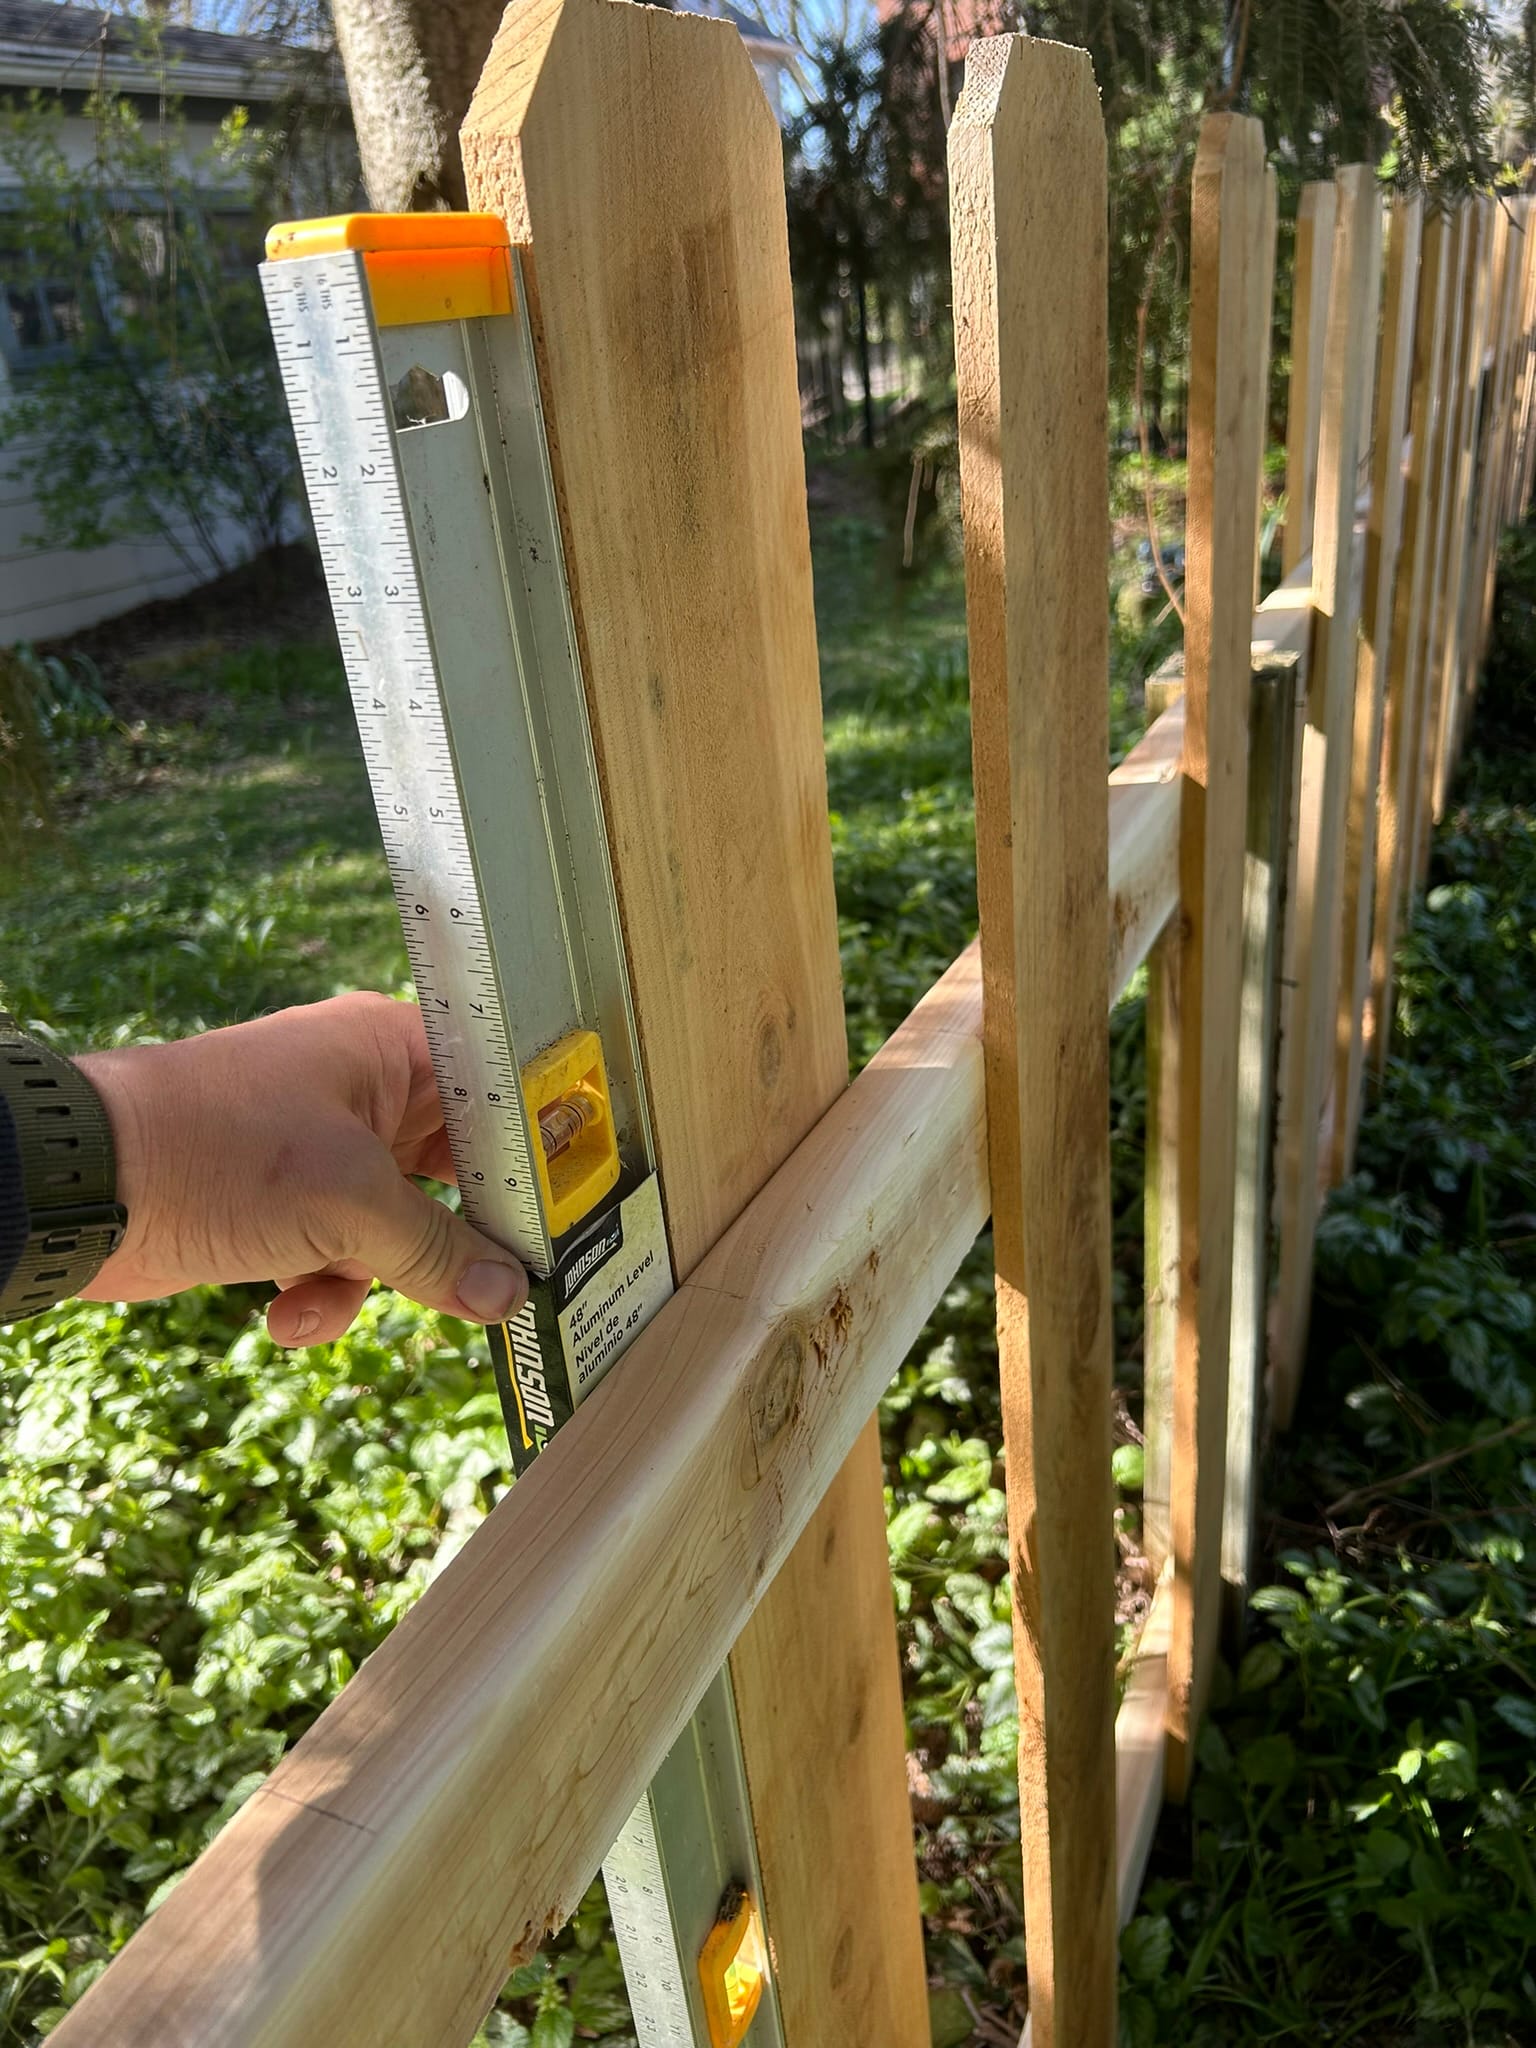
Once the new 2x4s were mounted, I began the process of attaching the pickets. While most fence installations would like this would marry each side of the picket to create an opaque fence, our neighbor enjoyed being able to see through it to allow for a more open feel. This was how the existing fence was installed, so I set pickets 2 inches apart.
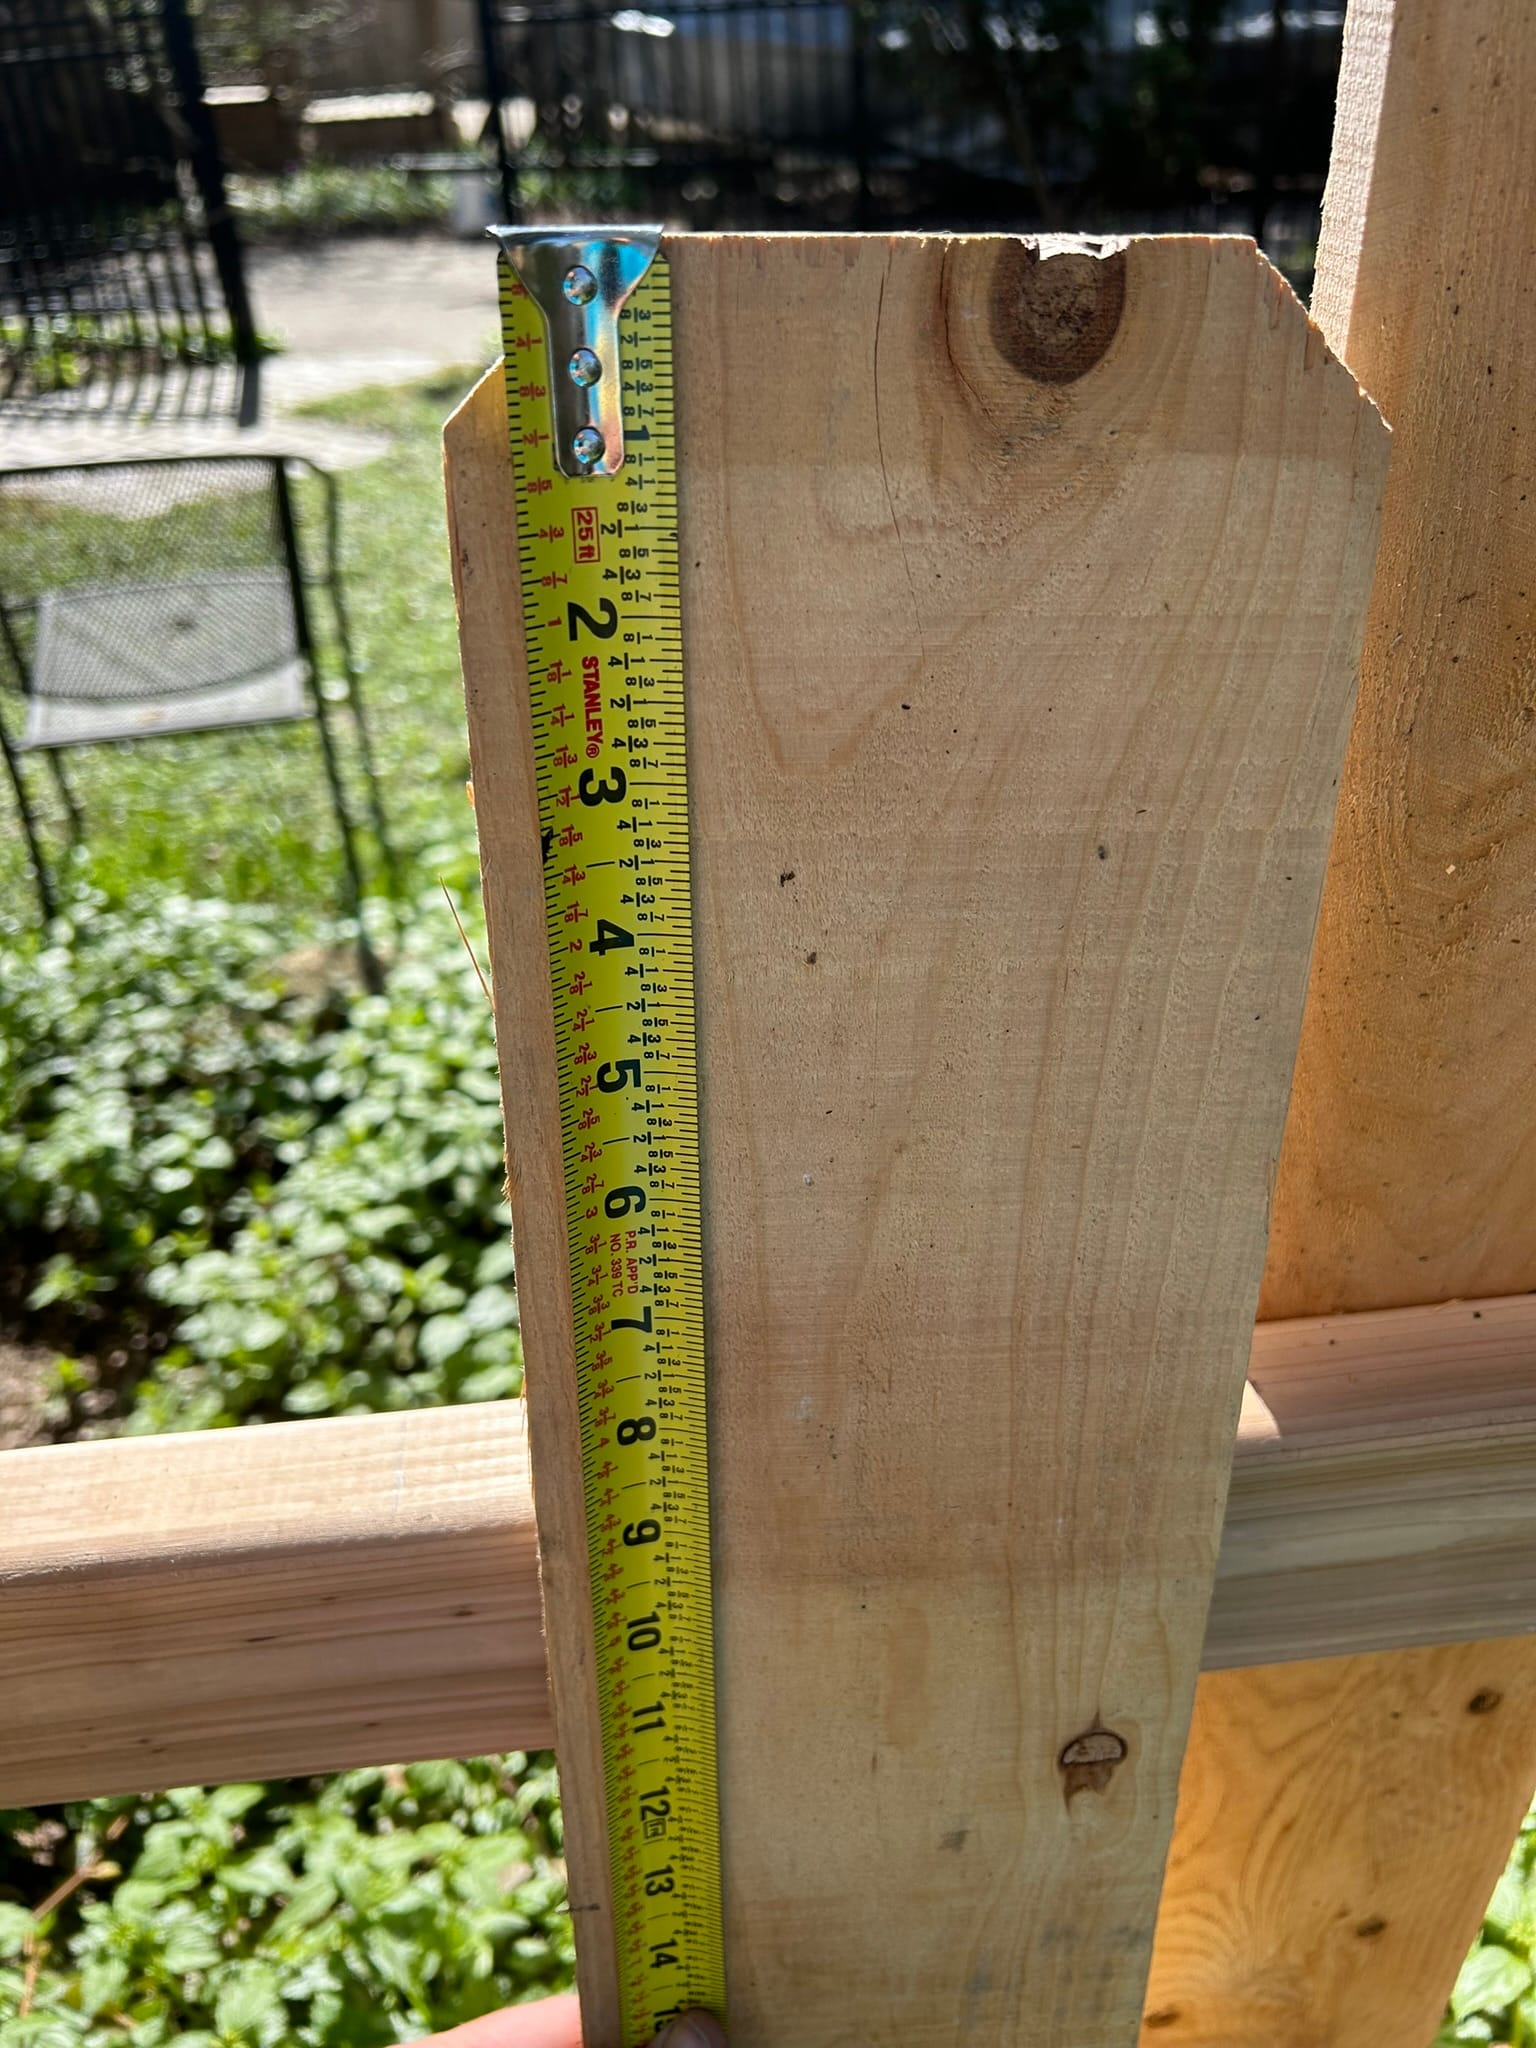
Using a speed square, I measured 7.5-inch edges for each picket. This allowed me to quickly line up the picket and screw it in.
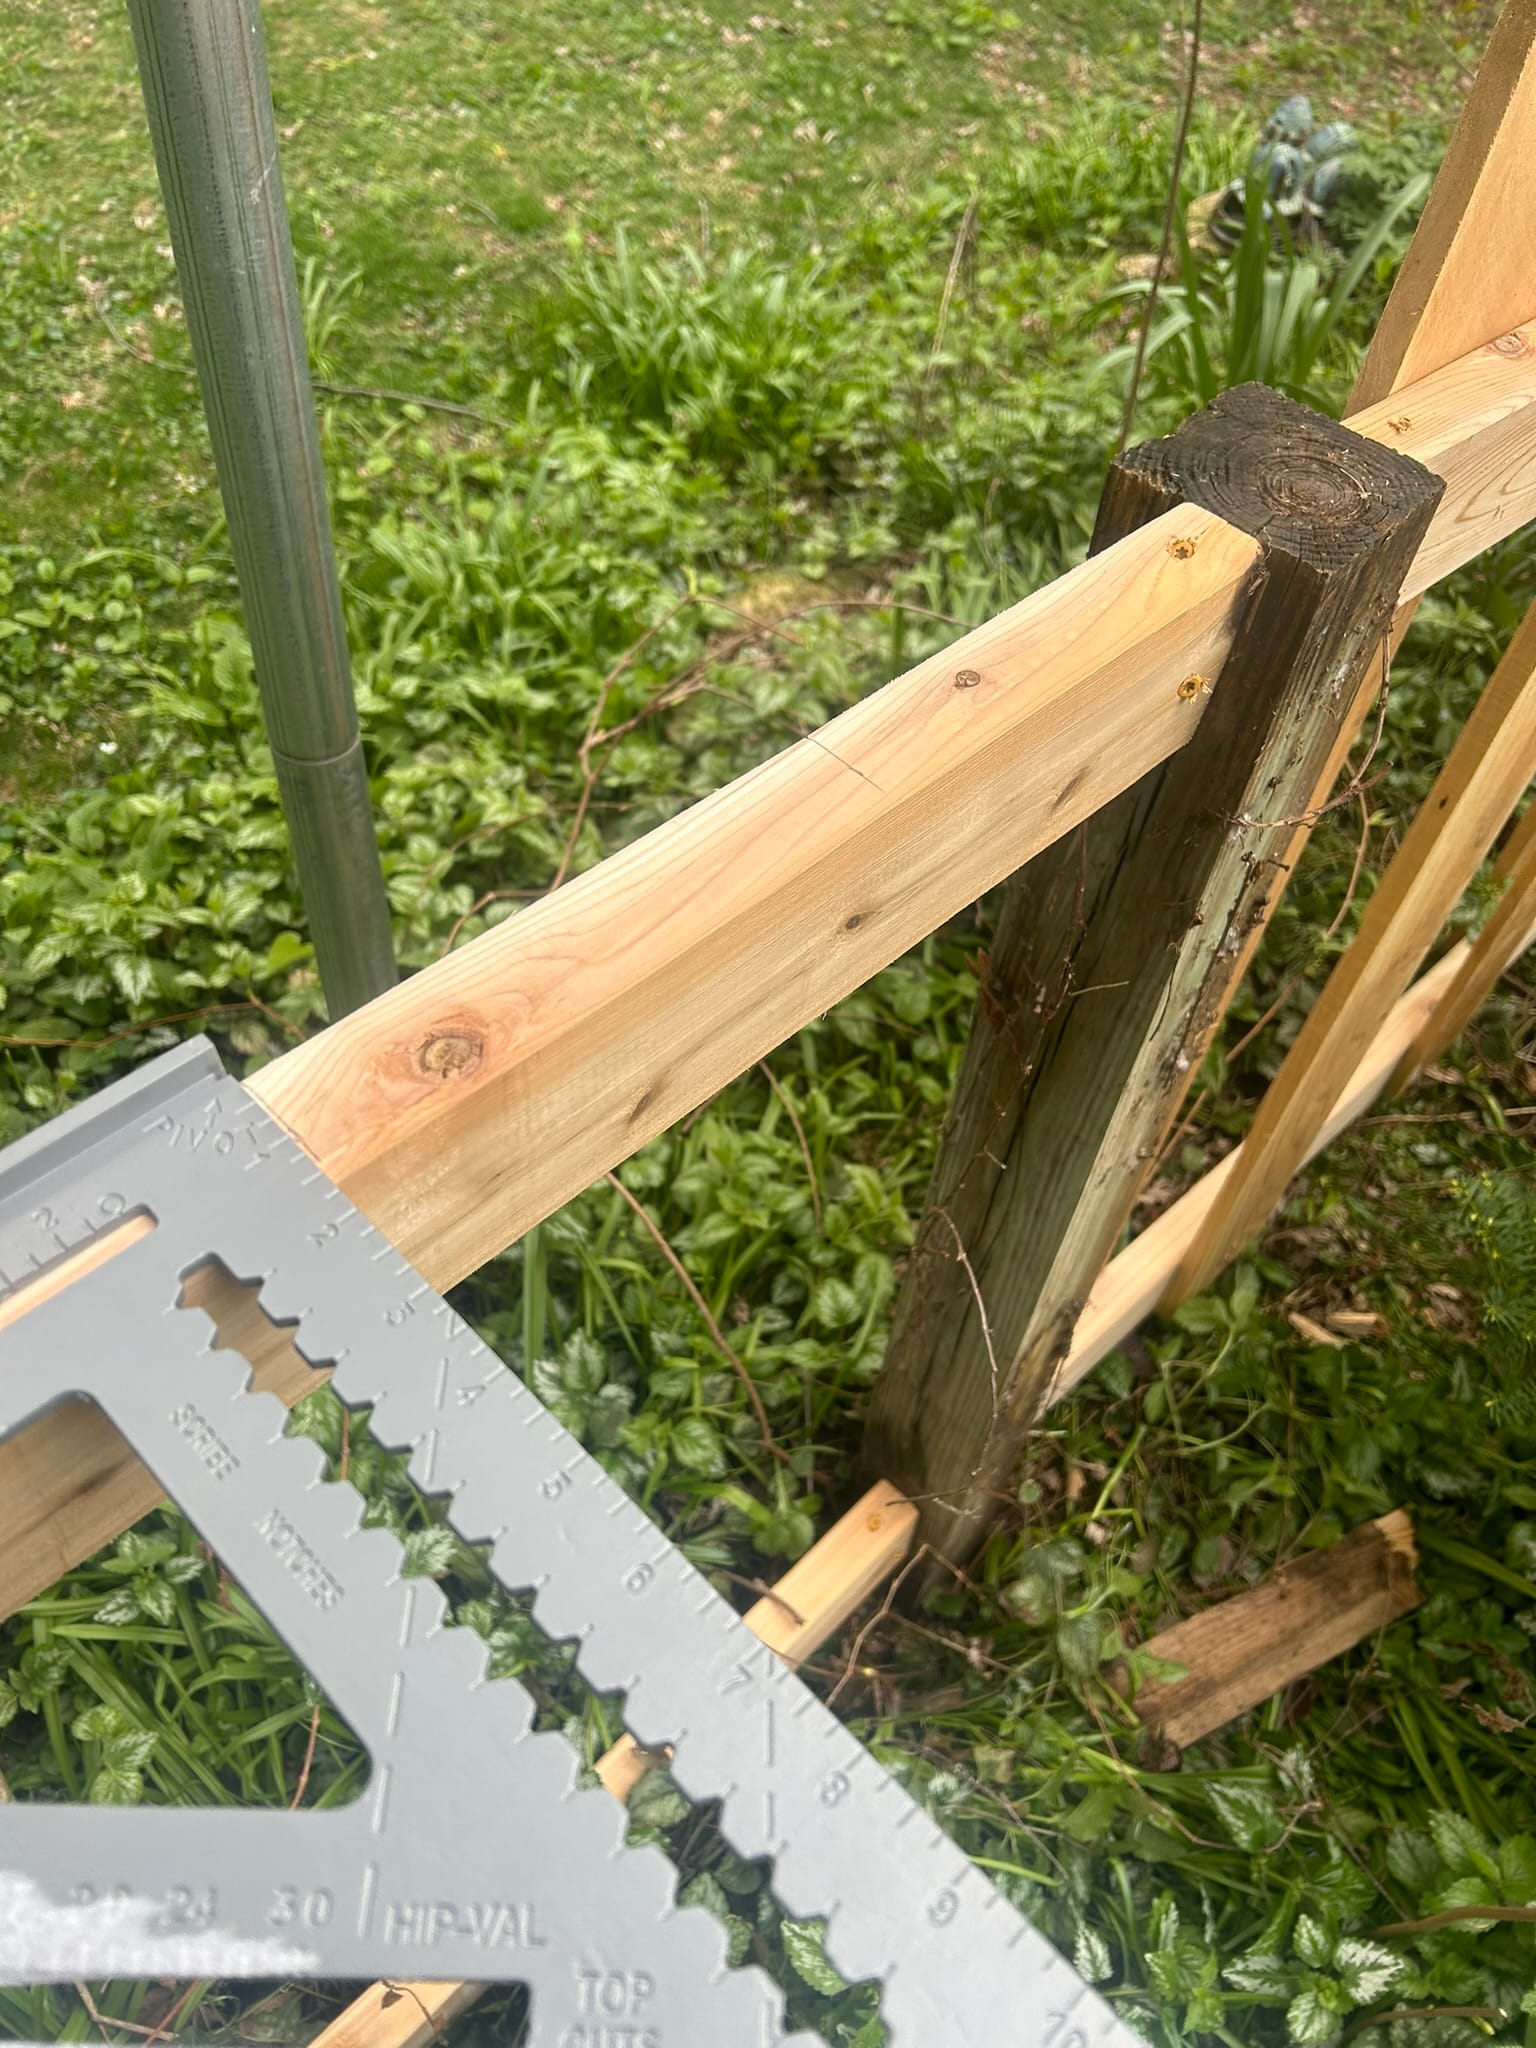
On each picket, I measure 13.5 inches from the top to give a level top edge to the fence. Again, I was lucky the existing posts were pretty level. I would have had to likely use a line down the fence to ensure proper height.
Once all the measurements were in place, I screwed the top of the picket into the top 2x4 and used a level to ensure that the picket was plumb. Once level, I attached the bottom of the picket to the bottom 2x4.
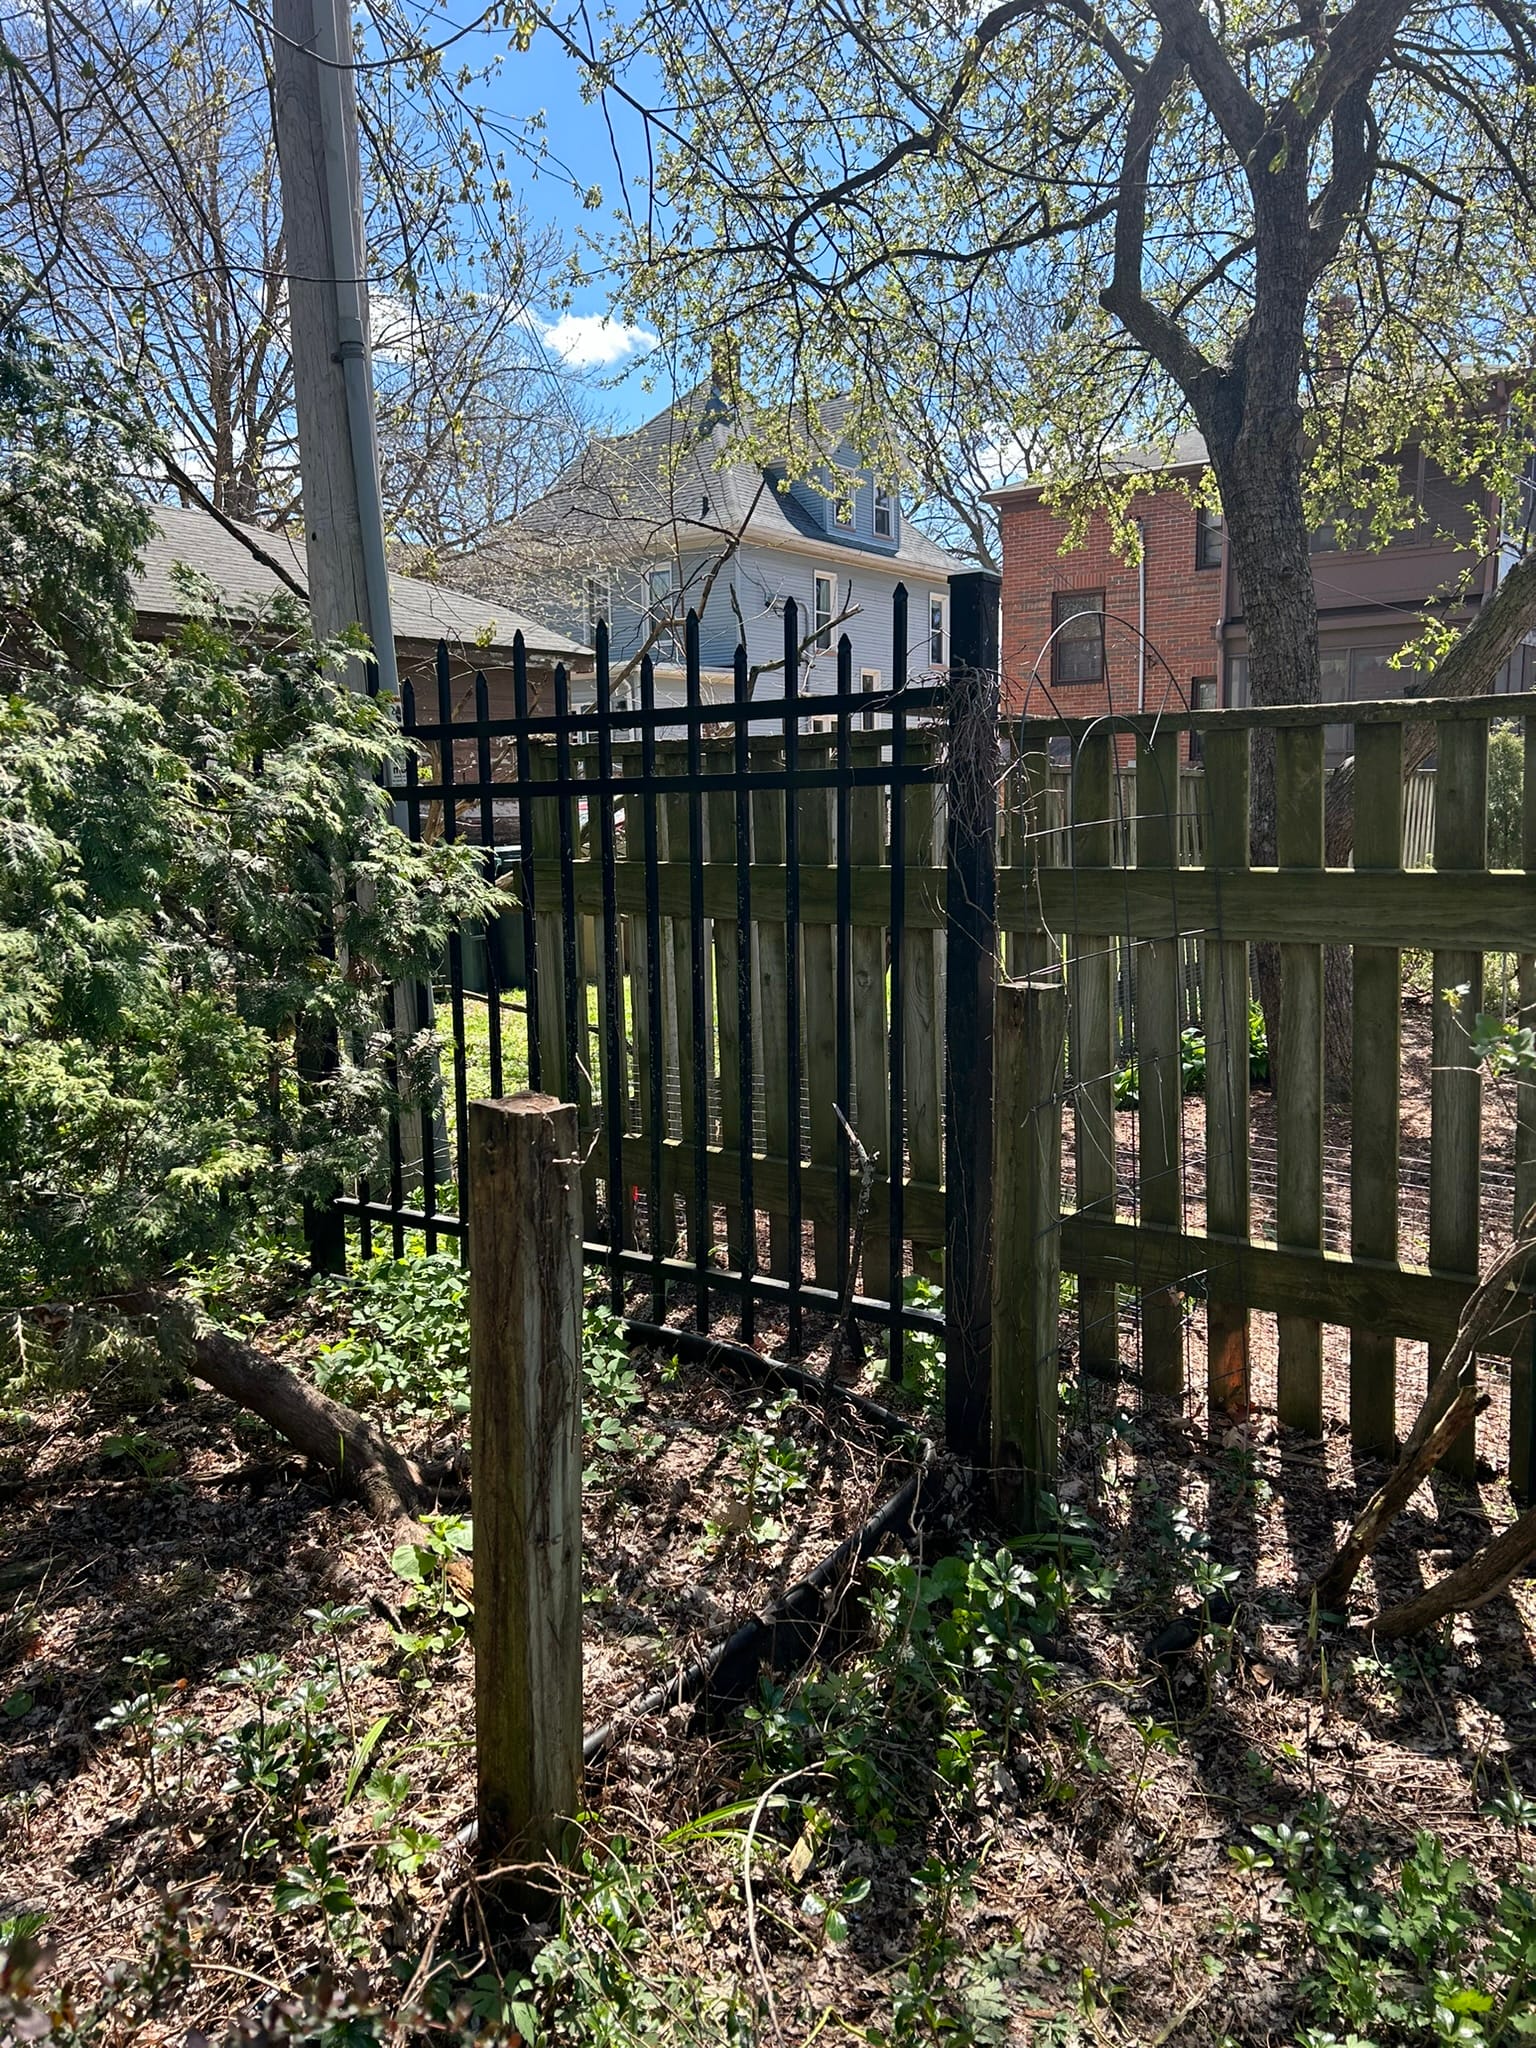
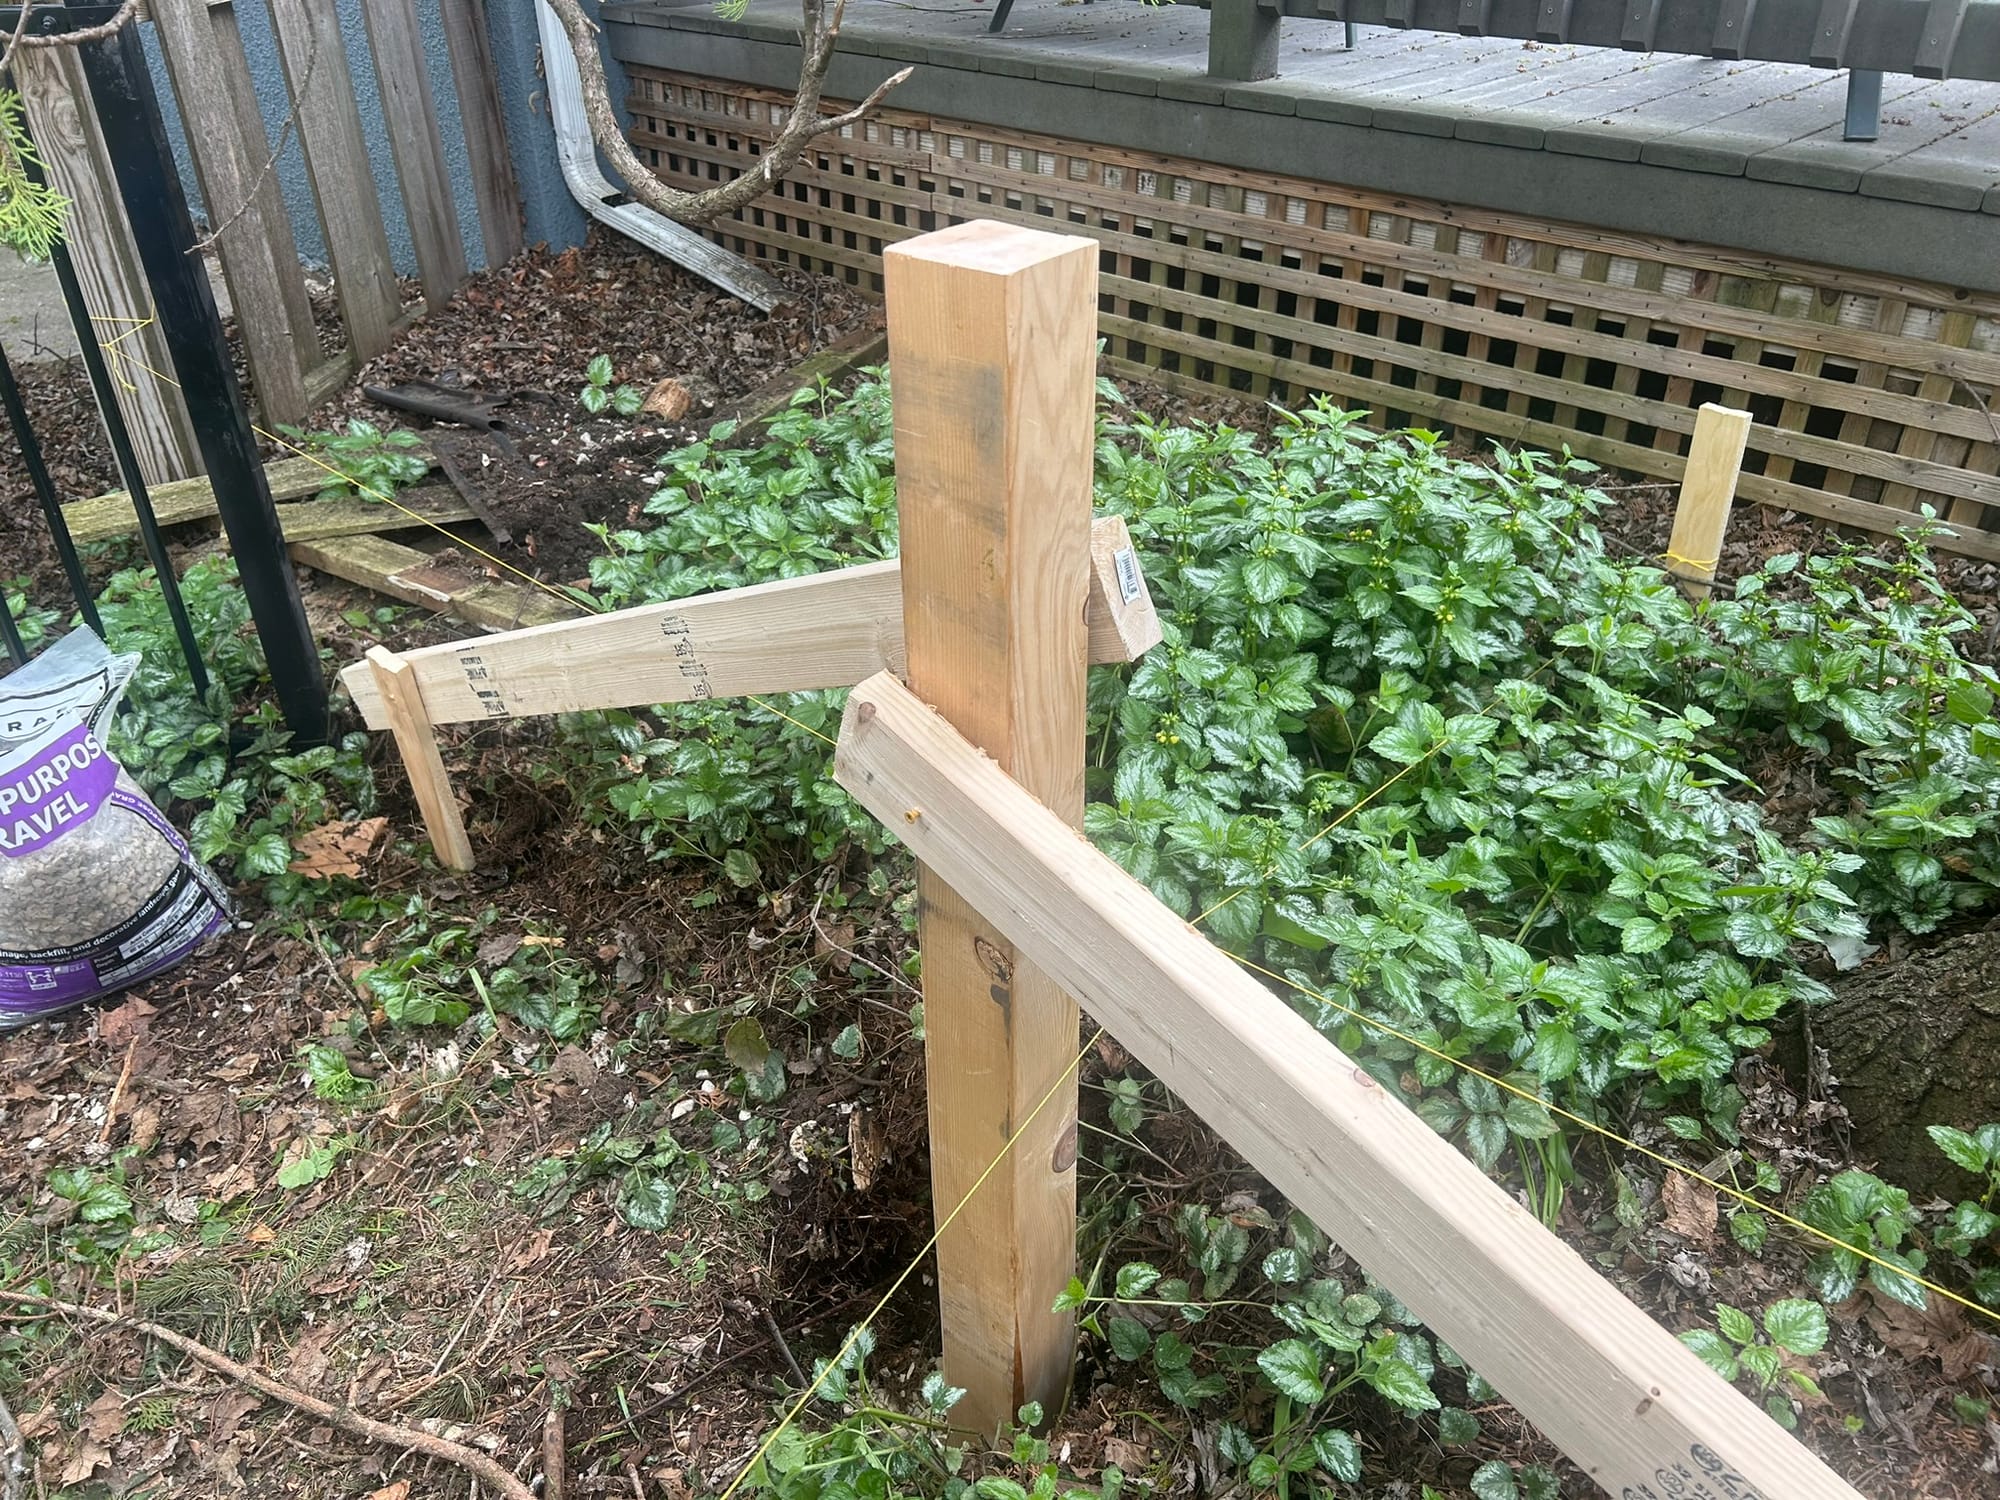
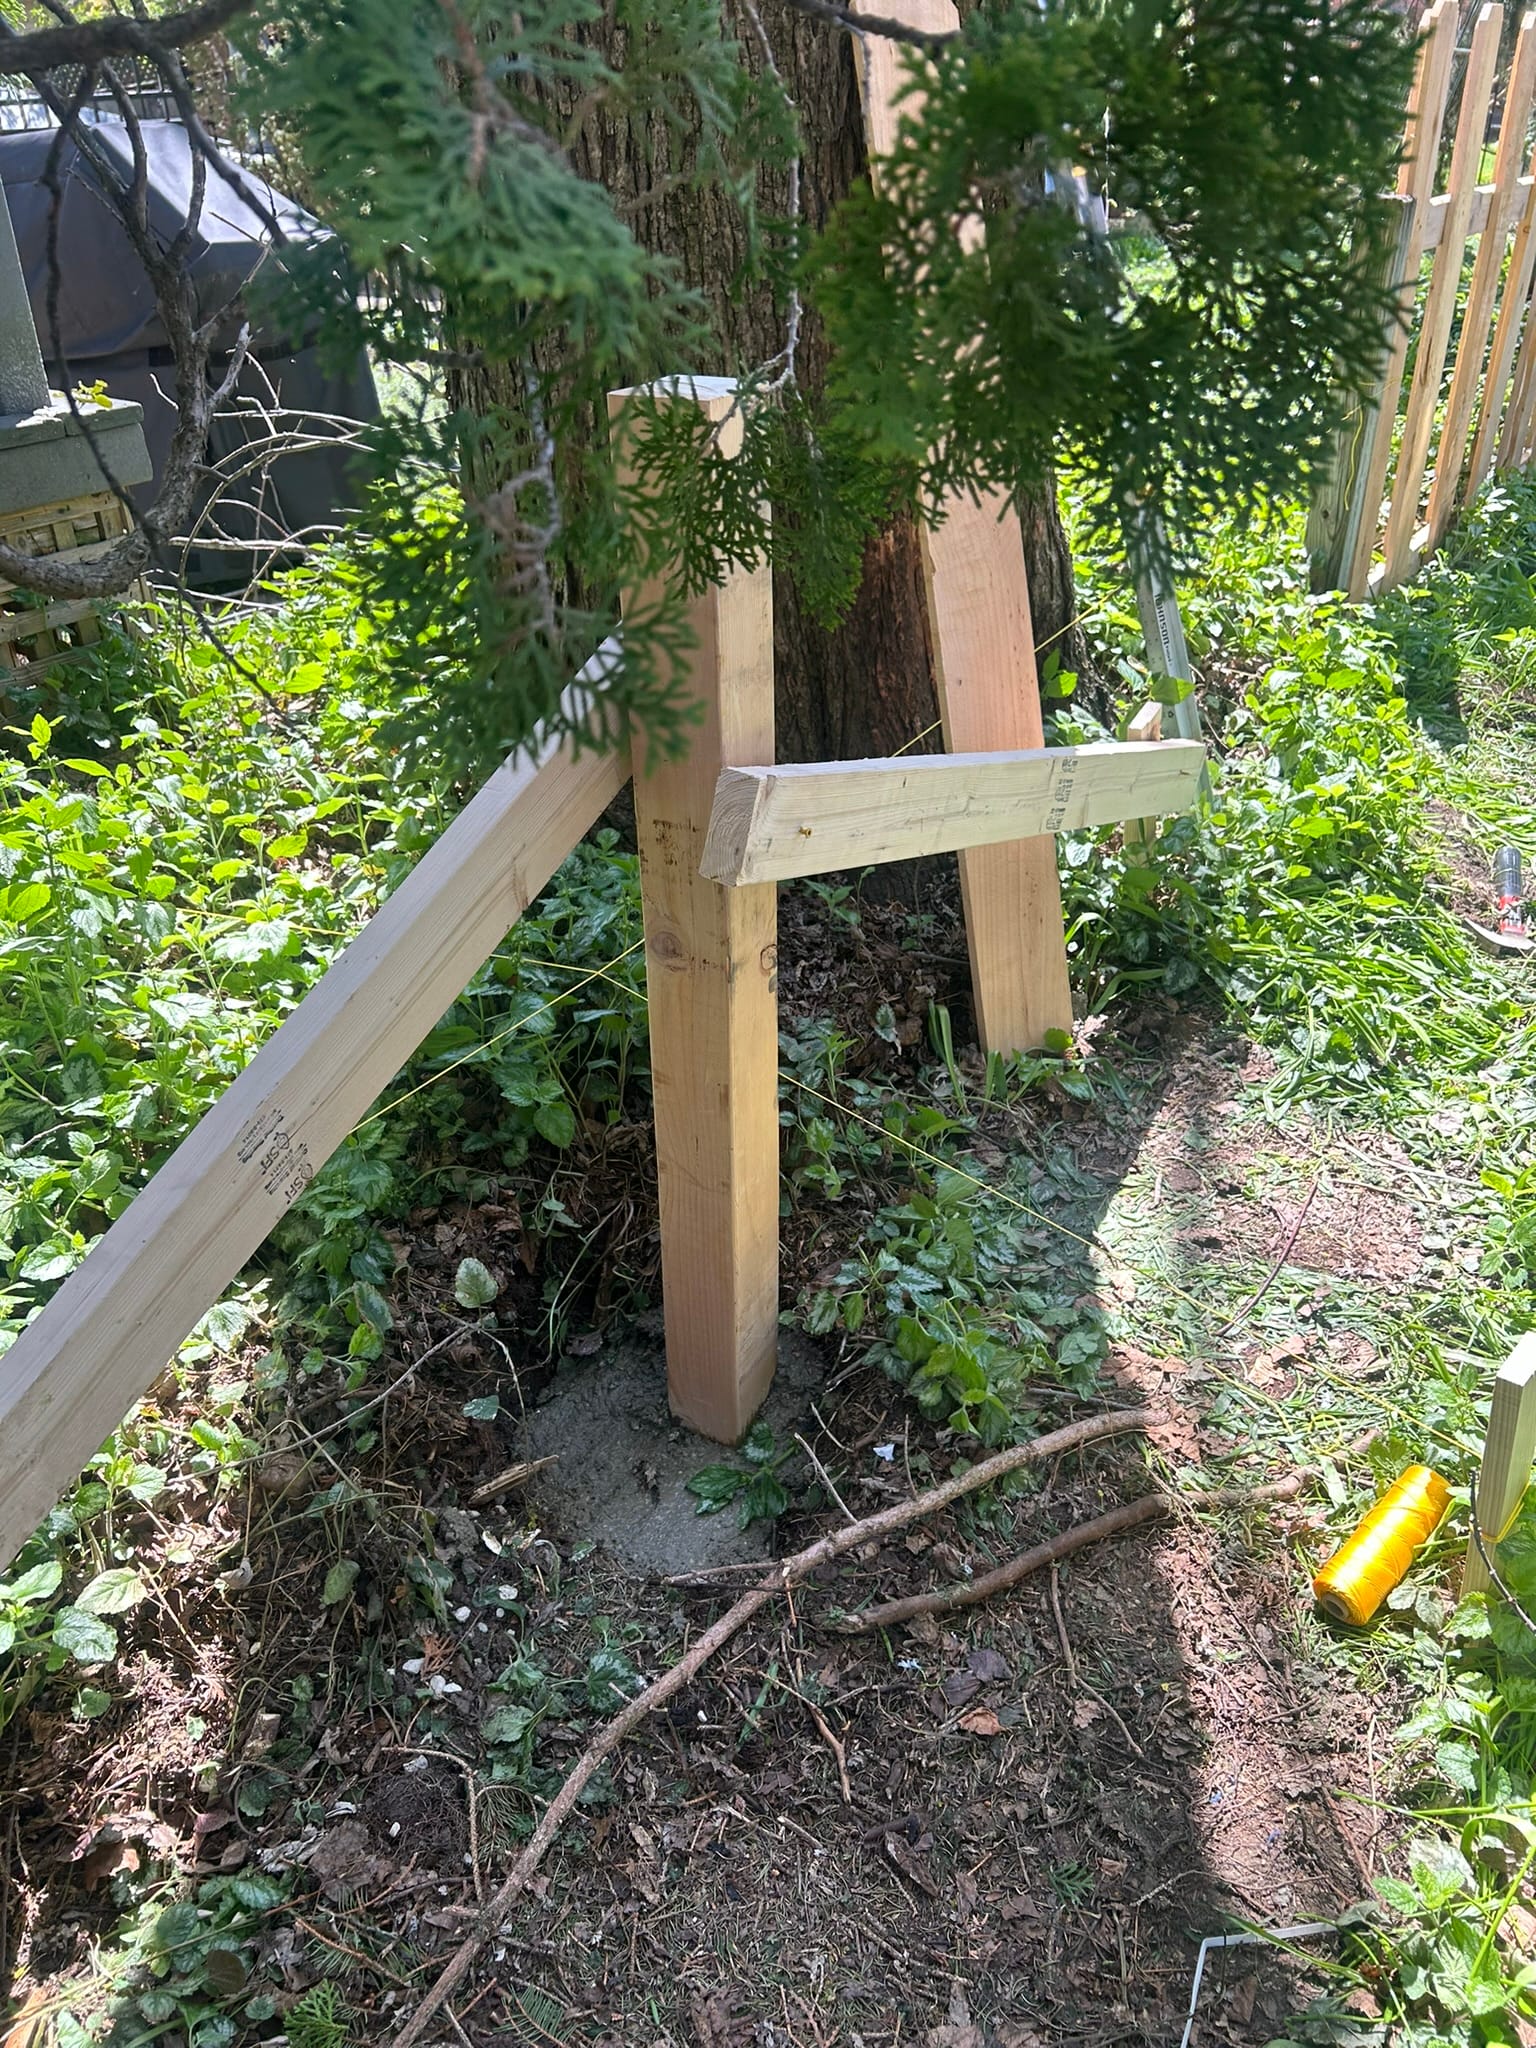
Once I reached the tree that is on our property line, I had to dig a hole and set a post. I set guidelines using twine between the two existing posts. I then set a perpendicular guideline 96" from the right post. This offset me from the tree and was the exact length of the 2x4s I was using.
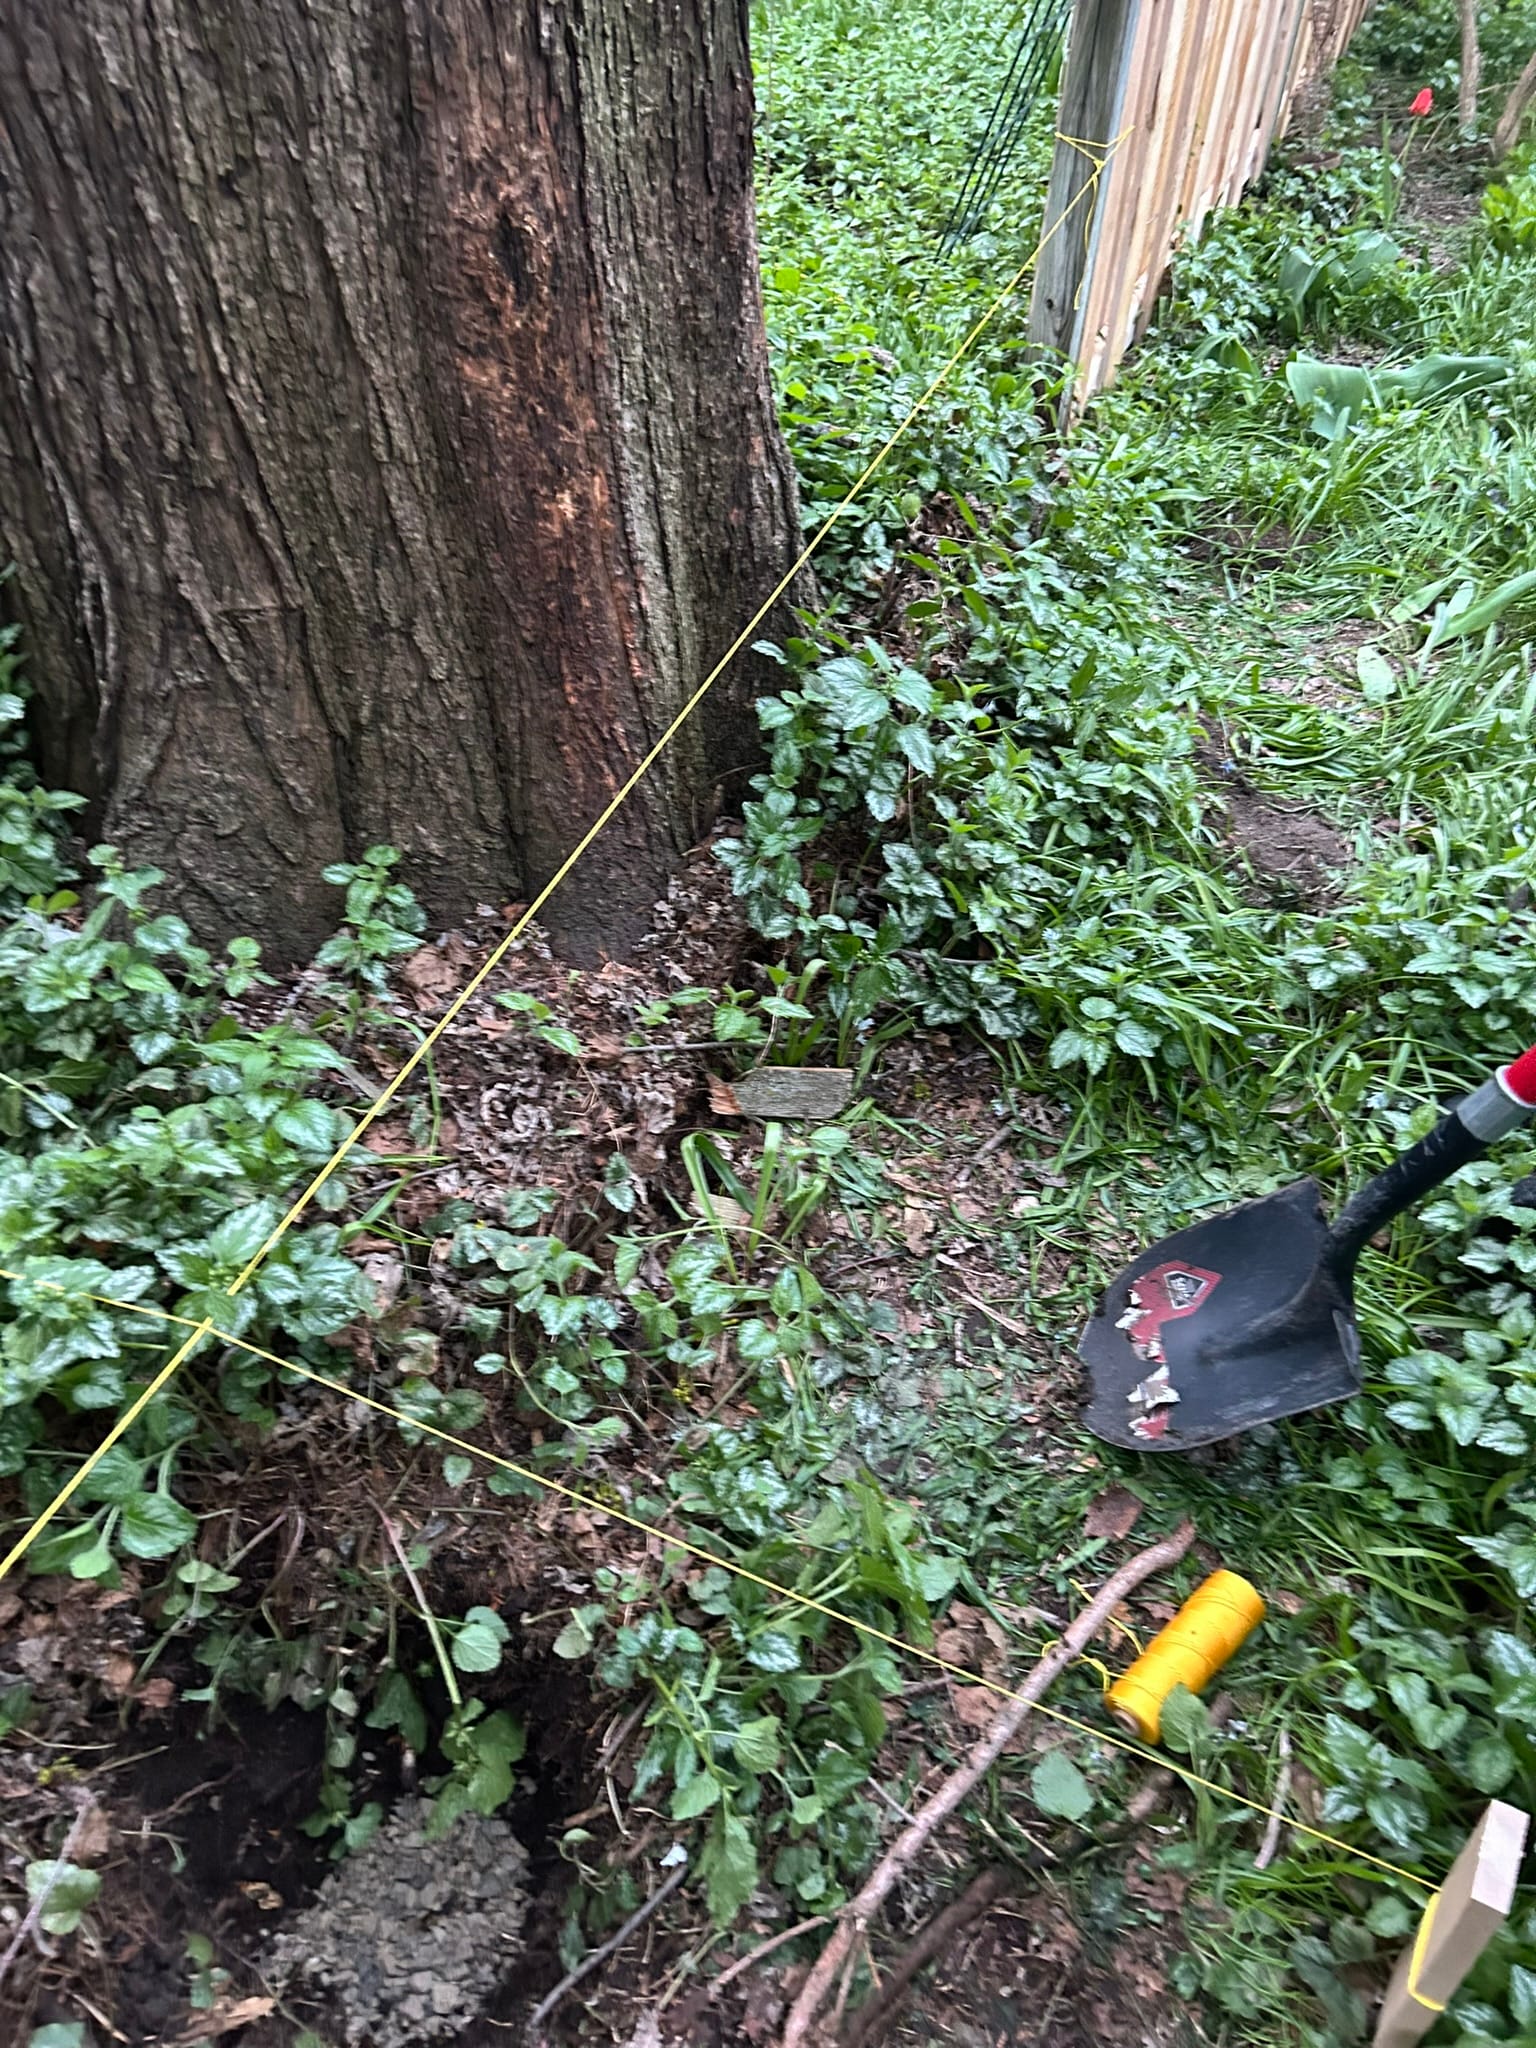
I positioned the post slightly back from the guideline to ensure I could run a 2x4 behind the tree. Being very close to the tree, I could only dig about 12 inches before hitting the root ball. The previous fence was installed without a post here at all. I see why. I put some crushed gravel at the bottom of the hole and set the post. I used 2x4s and stakes to brace the pole before mixing and pouring concrete.
I'm really happy with the end result. The fence was (more or less) level and straight and looks much better than the previous fence. We no longer have to worry about our dog escaping. Luckily, it's not really his thing anyways.